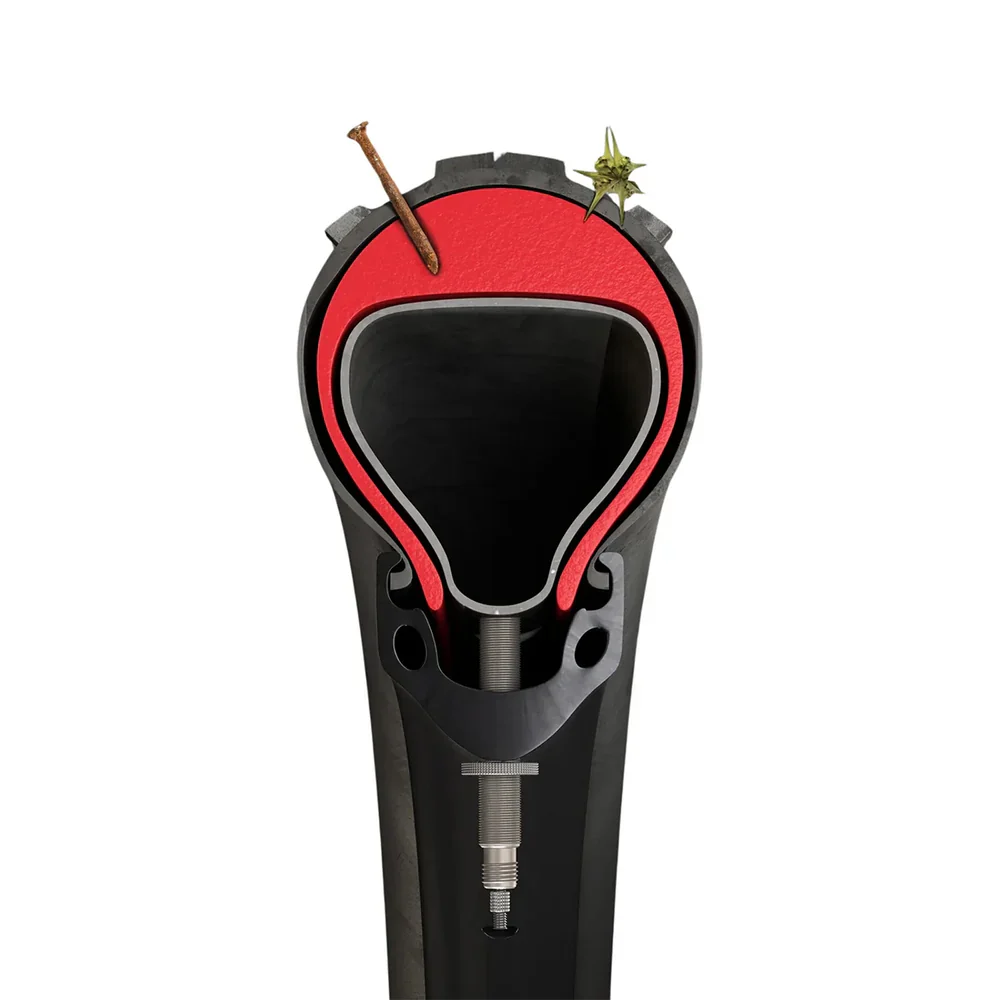
Tannus Armour protects your inner tube with 15mm of advanced multi-cell foam, preventing up to 90% of flats. Offering unmatched anti-puncture defense, it keeps your rides smooth and worry-free—so you can finally say goodbye to punctures.
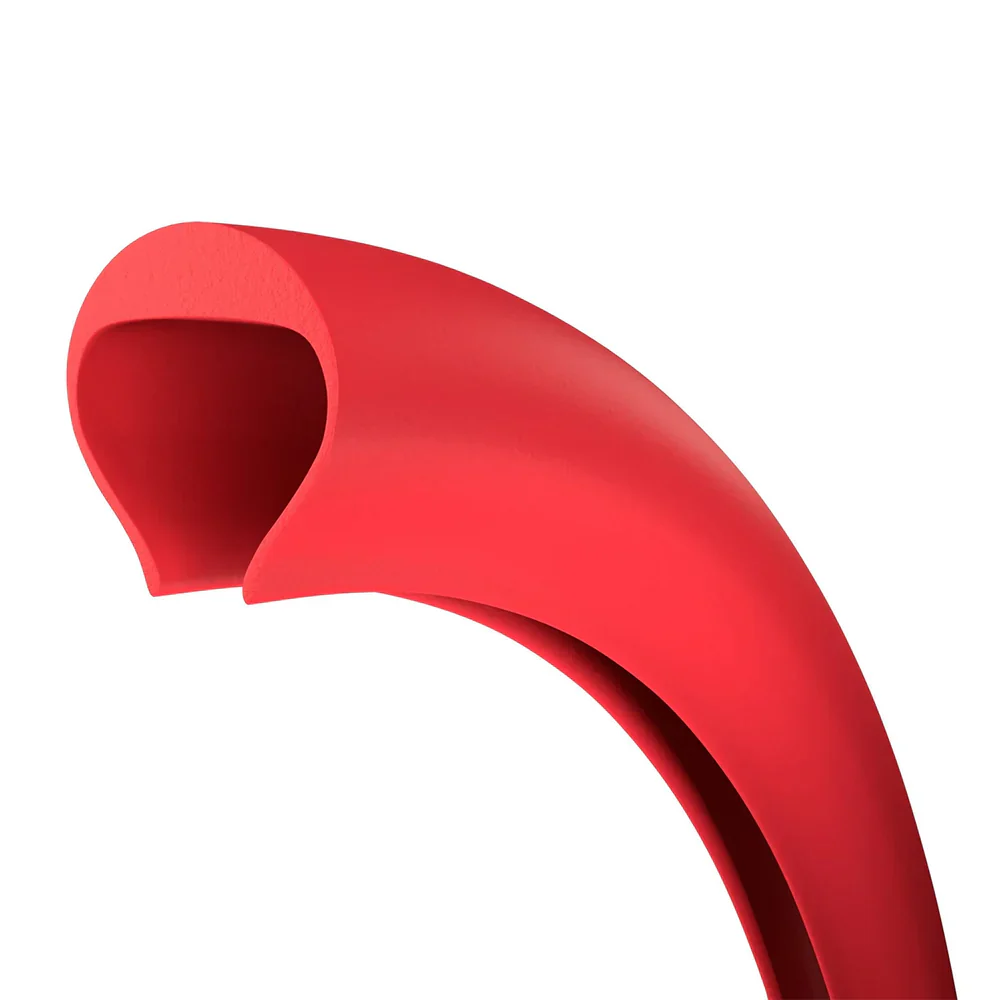
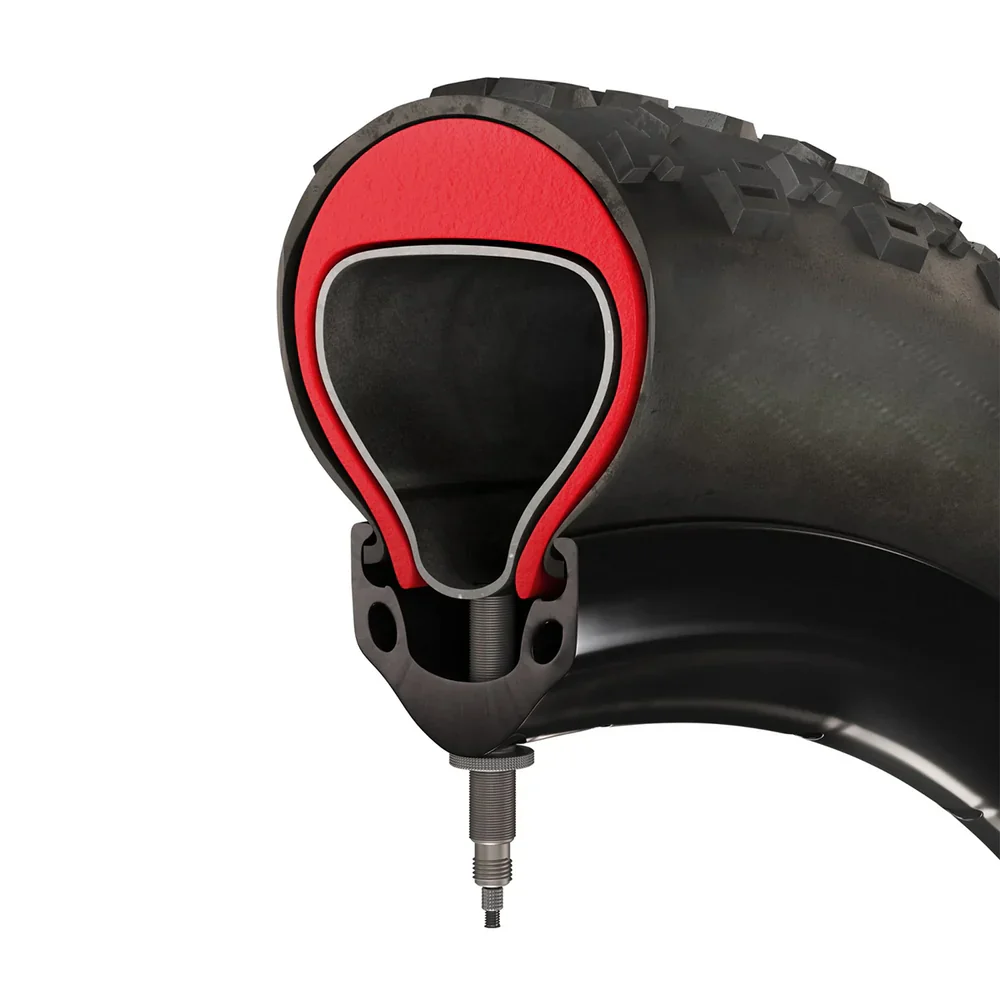
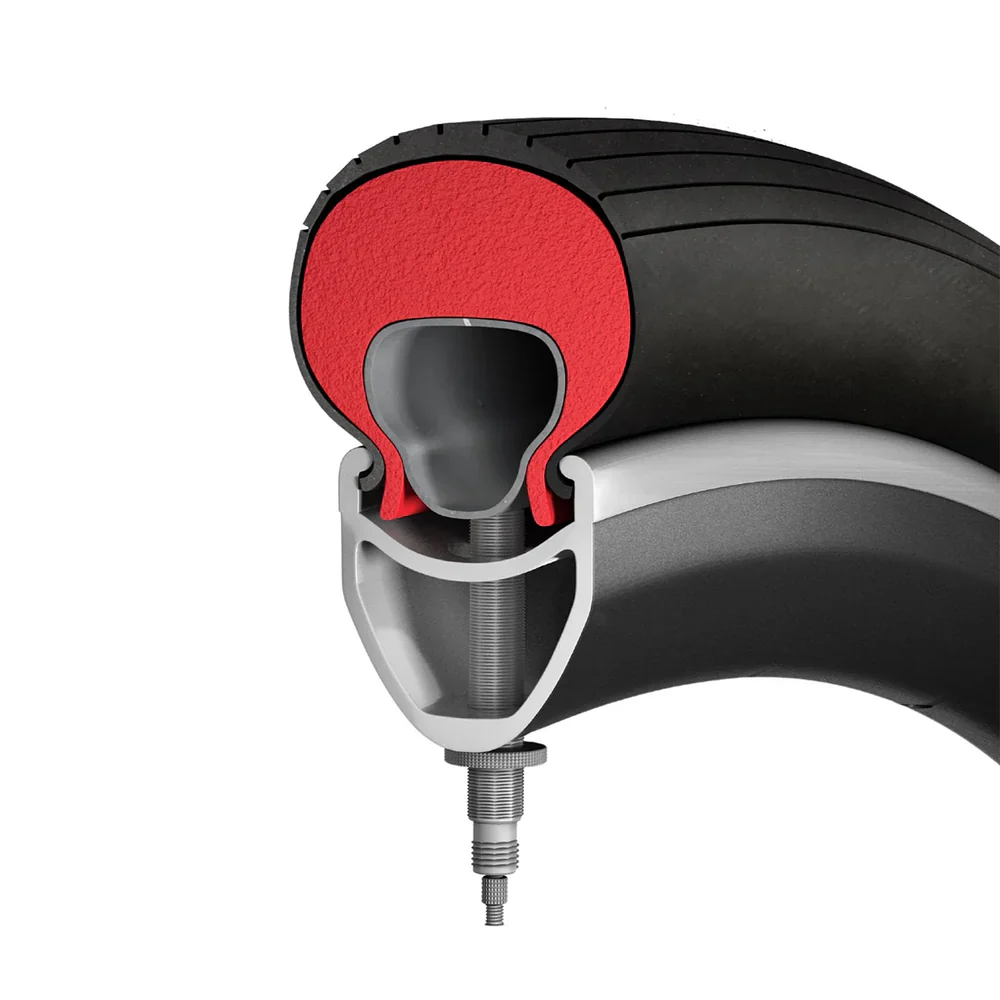
Tannus Armour is an insert that sits underneath the tire and over the tube. It offers puncture resistance, comfort, and enhanced riding capabilities. Tannus Armour is made of a patented material called Aither. It’s a high quality foam-like polymer that offers vibration damping, a smoother ride, and puncture resistance.
Tannus Armour weighs between 190-500 grams depending on the size. It provides 13-15mm of protection at it's thickest point and 2-5mm of sidewall protection.
90%
Average Reduction of Punctures
Armour is positioned between the inner tube and the tire. It offers15 mm of extra protection under the treadand 2-5 mm on the sides of the tire. Armour increases puncture protection, reduces maintenance and increases comfort.
90% Less Punctures
Armour drastically reduces punctures
Side wall support
The insert reduces lateral cuts and internally supports the tire shoulder allowing the rider to have extra lateral support even at low pressures
Rim Protection
Armour greatly reduces rim damage
How to install Armour
How to install Armour
1. Inflate the inner tube slightly Inflate the inner tube slightly. This makes assembly easier.
2. Evaluate the side wing cut For some tires it is necessary to cut the side wings of the insert slightly so that they do not bend inwards during assembly. Place the insert inside the tire and make sure that the side wings of the insert do not protrude excessively from the tire. If the lateral wings are in excess, use scissors to trim the lateral wing of the insert on both sides.
3. Install First Bead of Tire and Armour Place one side of the tire over the bead of the rim. Insert one side of the Armour inside the tire and over the rim.
4. Insert Inner Tube Insert the inner tube valve through the rim valve hole. Place the inner tube inside the Tannus Armour. Make sure the Armour wings are not folded.
5. Mount Armour Into the Rim Place the remaining exposed Armour flap over the rim under the bead.
6. Finish, Check, and Inflate Secure the remaining side of the tire beading into the rim using a tire lever if needed.
Check that the tire has been installed correctly before inflating. Make sure the tire is not pinching the tube or the Armour between the tire bead and rim.
Product Information
Shipping & Returns
Birch Tannus Anti-Puncture Insert with Inner Tube
Birch Tannus Anti-Puncture Insert with Inner Tube
Birch Tannus Anti-Puncture Insert with Inner Tube
Tannus Armour protects your inner tube with 15mm of advanced multi-cell foam, preventing up to 90% of flats. Offering unmatched anti-puncture defense, it keeps your rides smooth and worry-free—so you can finally say goodbye to punctures.
Tannus Armour is an insert that sits underneath the tire and over the tube. It offers puncture resistance, comfort, and enhanced riding capabilities. Tannus Armour is made of a patented material called Aither. It’s a high quality foam-like polymer that offers vibration damping, a smoother ride, and puncture resistance.
Tannus Armour weighs between 190-500 grams depending on the size. It provides 13-15mm of protection at it's thickest point and 2-5mm of sidewall protection.
90%
Average Reduction of Punctures
Armour is positioned between the inner tube and the tire. It offers15 mm of extra protection under the treadand 2-5 mm on the sides of the tire. Armour increases puncture protection, reduces maintenance and increases comfort.
90% Less Punctures
Armour drastically reduces punctures
Side wall support
The insert reduces lateral cuts and internally supports the tire shoulder allowing the rider to have extra lateral support even at low pressures
Rim Protection
Armour greatly reduces rim damage
How to install Armour
How to install Armour
1. Inflate the inner tube slightly Inflate the inner tube slightly. This makes assembly easier.
2. Evaluate the side wing cut For some tires it is necessary to cut the side wings of the insert slightly so that they do not bend inwards during assembly. Place the insert inside the tire and make sure that the side wings of the insert do not protrude excessively from the tire. If the lateral wings are in excess, use scissors to trim the lateral wing of the insert on both sides.
3. Install First Bead of Tire and Armour Place one side of the tire over the bead of the rim. Insert one side of the Armour inside the tire and over the rim.
4. Insert Inner Tube Insert the inner tube valve through the rim valve hole. Place the inner tube inside the Tannus Armour. Make sure the Armour wings are not folded.
5. Mount Armour Into the Rim Place the remaining exposed Armour flap over the rim under the bead.
6. Finish, Check, and Inflate Secure the remaining side of the tire beading into the rim using a tire lever if needed.
Check that the tire has been installed correctly before inflating. Make sure the tire is not pinching the tube or the Armour between the tire bead and rim.
$38.50
Original: $109.99
-65%
Birch Tannus Anti-Puncture Insert with Inner Tube—
$109.99
$38.50
Product Information
Shipping & Returns
Description
Birch Tannus Anti-Puncture Insert with Inner Tube
Tannus Armour protects your inner tube with 15mm of advanced multi-cell foam, preventing up to 90% of flats. Offering unmatched anti-puncture defense, it keeps your rides smooth and worry-free—so you can finally say goodbye to punctures.
Tannus Armour is an insert that sits underneath the tire and over the tube. It offers puncture resistance, comfort, and enhanced riding capabilities. Tannus Armour is made of a patented material called Aither. It’s a high quality foam-like polymer that offers vibration damping, a smoother ride, and puncture resistance.
Tannus Armour weighs between 190-500 grams depending on the size. It provides 13-15mm of protection at it's thickest point and 2-5mm of sidewall protection.
90%
Average Reduction of Punctures
Armour is positioned between the inner tube and the tire. It offers15 mm of extra protection under the treadand 2-5 mm on the sides of the tire. Armour increases puncture protection, reduces maintenance and increases comfort.
90% Less Punctures
Armour drastically reduces punctures
Side wall support
The insert reduces lateral cuts and internally supports the tire shoulder allowing the rider to have extra lateral support even at low pressures
Rim Protection
Armour greatly reduces rim damage
How to install Armour
How to install Armour
1. Inflate the inner tube slightly Inflate the inner tube slightly. This makes assembly easier.
2. Evaluate the side wing cut For some tires it is necessary to cut the side wings of the insert slightly so that they do not bend inwards during assembly. Place the insert inside the tire and make sure that the side wings of the insert do not protrude excessively from the tire. If the lateral wings are in excess, use scissors to trim the lateral wing of the insert on both sides.
3. Install First Bead of Tire and Armour Place one side of the tire over the bead of the rim. Insert one side of the Armour inside the tire and over the rim.
4. Insert Inner Tube Insert the inner tube valve through the rim valve hole. Place the inner tube inside the Tannus Armour. Make sure the Armour wings are not folded.
5. Mount Armour Into the Rim Place the remaining exposed Armour flap over the rim under the bead.
6. Finish, Check, and Inflate Secure the remaining side of the tire beading into the rim using a tire lever if needed.
Check that the tire has been installed correctly before inflating. Make sure the tire is not pinching the tube or the Armour between the tire bead and rim.
You may also like
-65%NEW
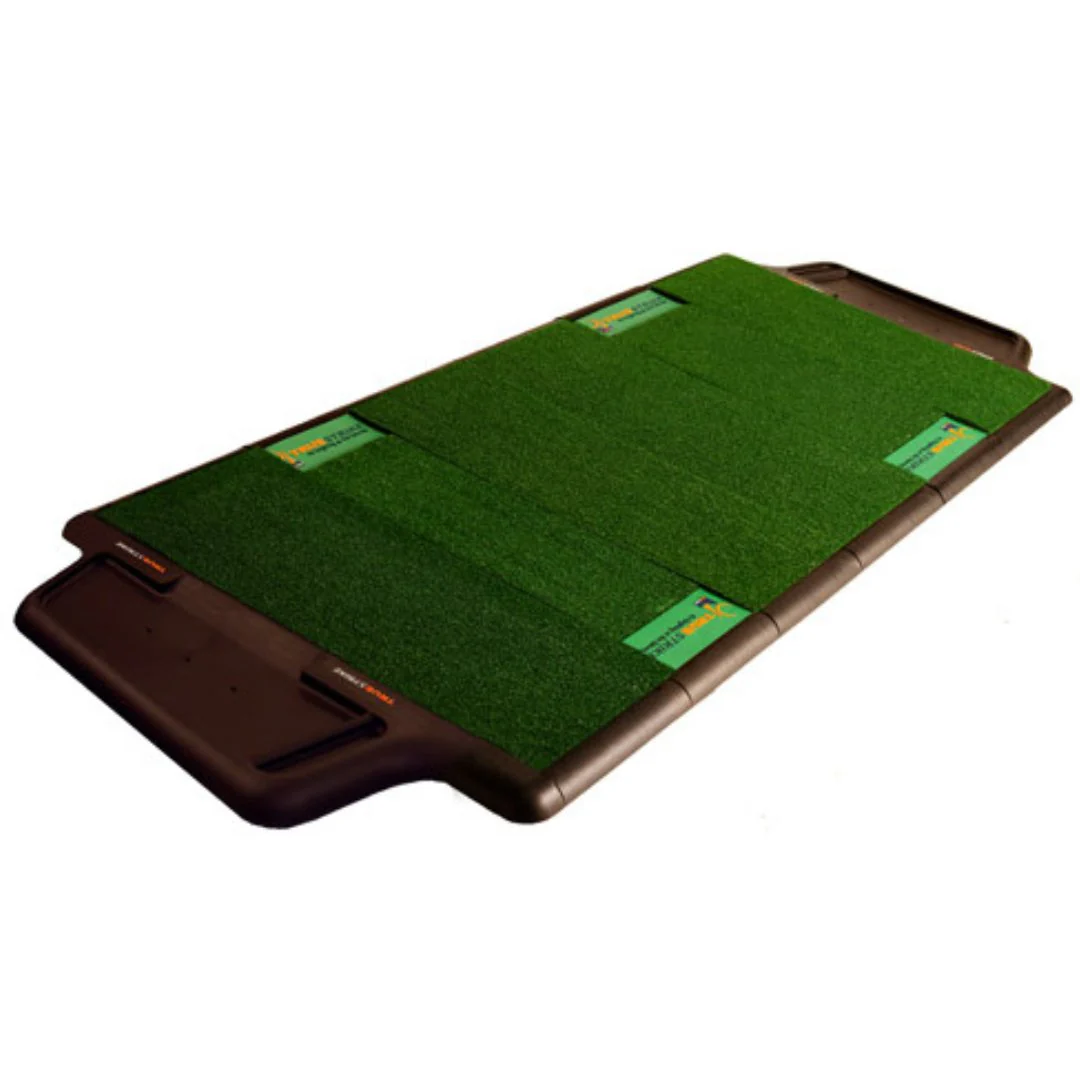
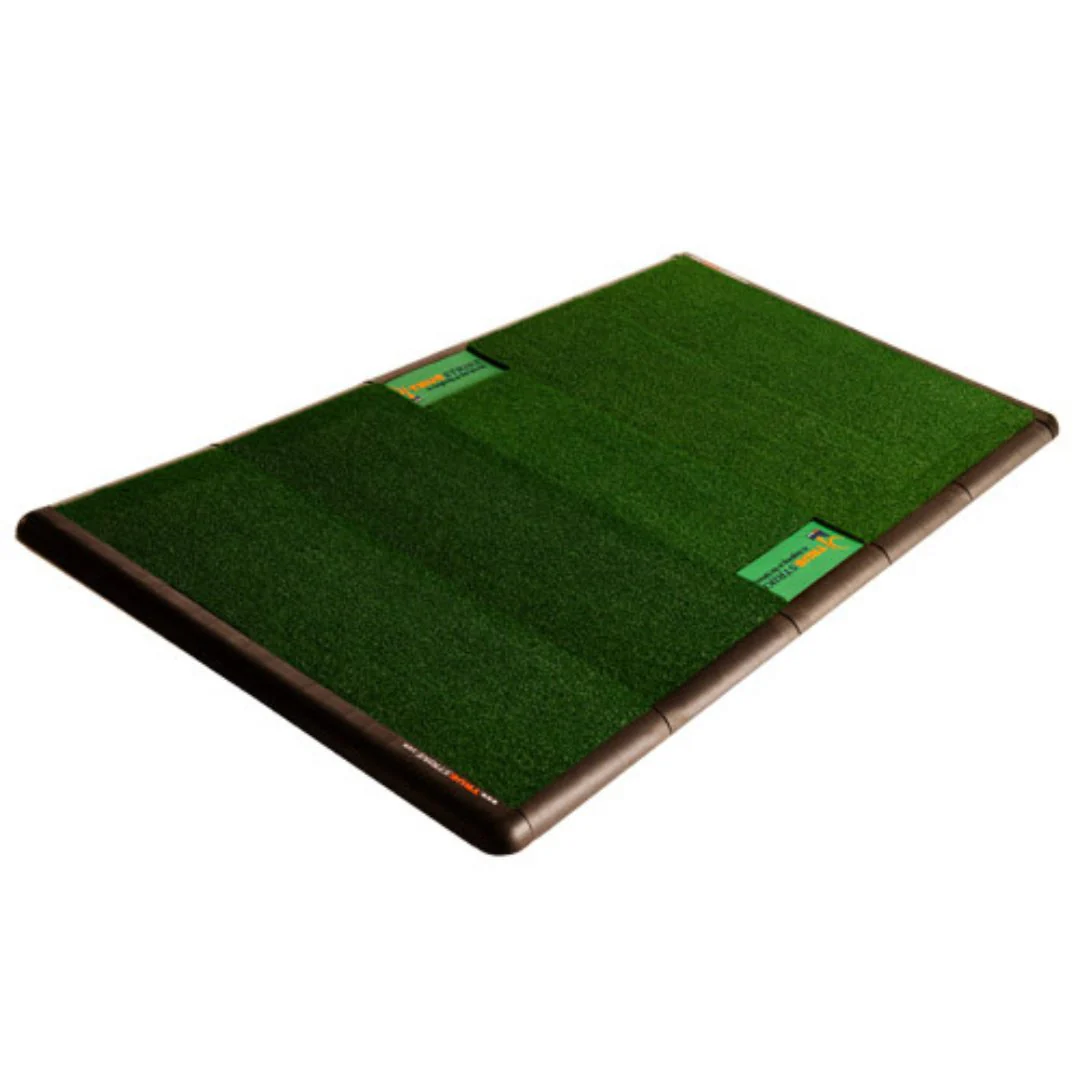
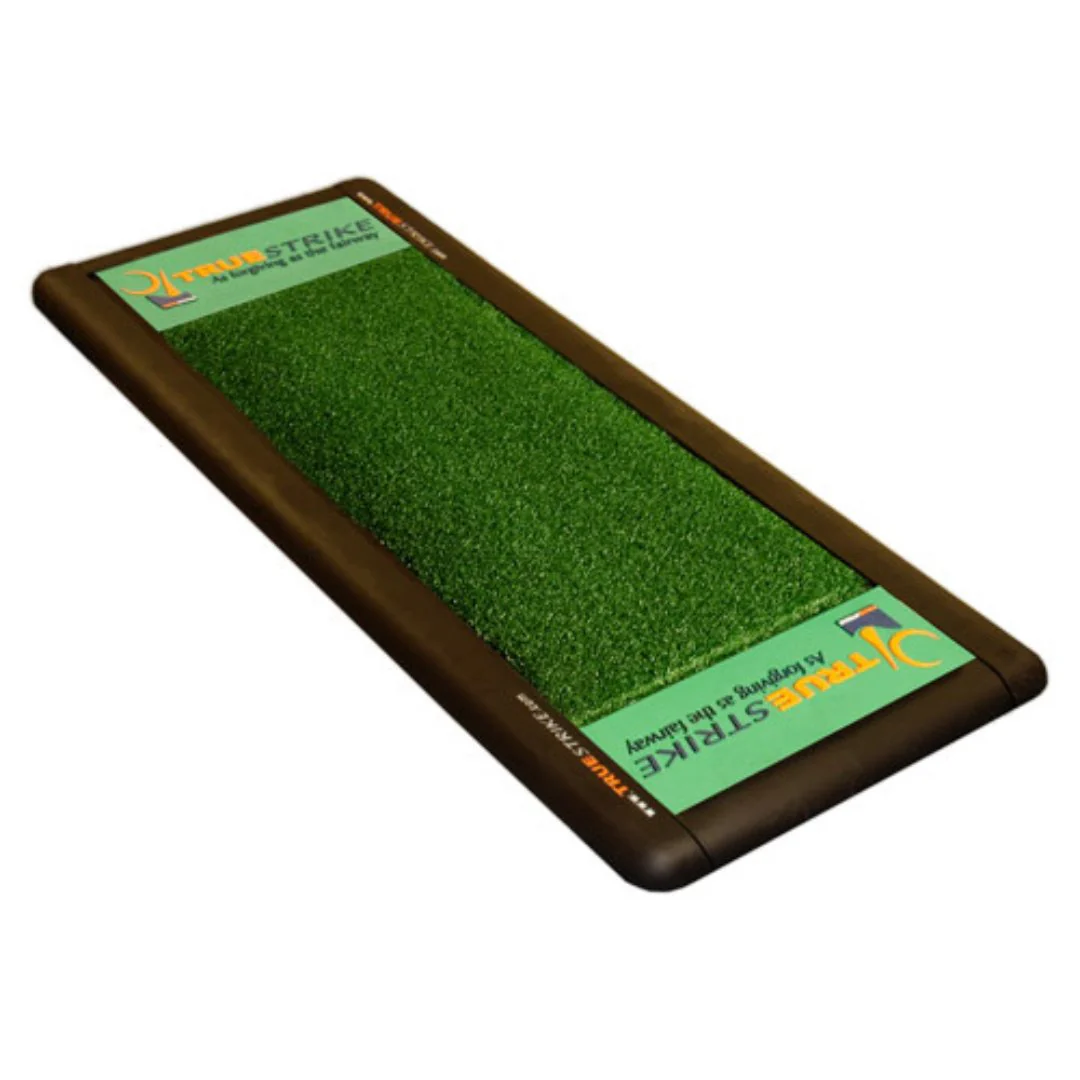
TrueStrike Single
$1,098.00
$384.30
-65%NEW
TrueStrike Static Impact
$868.00
$303.80
-65%NEW
TrueStrike Double
$1,868.00
$653.80
-65%NEW
Pro Putt Systems - 3'x 5' Pro Range Mat
$269.00
$94.15
-65%NEW
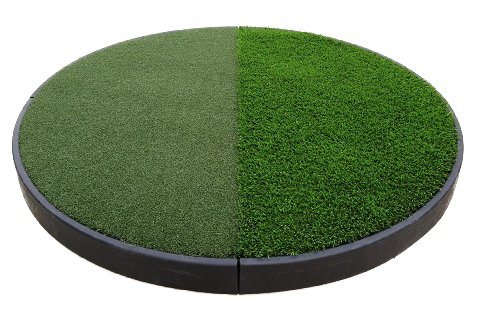
Pro Putt Systems - 4' Circle Multi-Surface Chipping Pad
$449.00
$157.15
-65%NEW
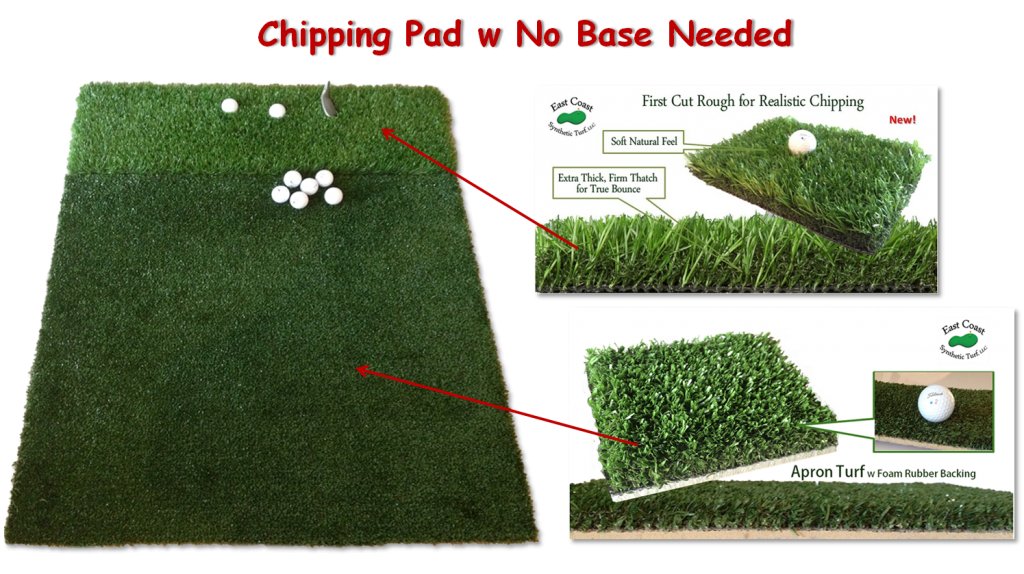
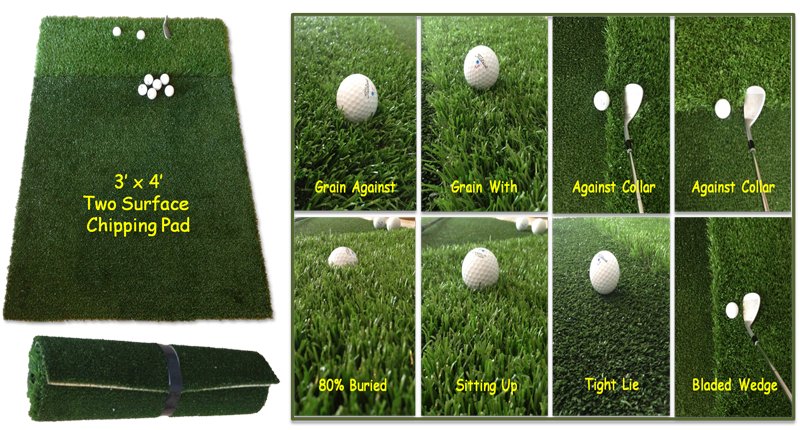
Pro Putt Systems - 3'x 4' Fringe & Rough Chipping Mat
$179.00
$62.65
-65%NEW
TrueStrike Academy
$1,188.00
$415.80
-65%NEW
TrueStrike Portable
$568.00
$198.80
-65%NEW
Carl's Place Premium Impact Screen with Classic Finish with Flaps
$484.95
$169.73
-65%NEW
Carl's Place Premium Impact Screen with Classic Finish with Loop Fastener
$454.95
$159.23
-65%NEW
Carl's Place Preferred Impact Screen with Classic Finish with Loop Fastener
$298.95
$104.63
-65%NEW
Carl's Place DIY Golf Simulator Enclosure Kit with Preferred Impact Screen
$1,229.95
$430.48
$38.50
Original: $109.99
-65%
Birch Tannus Anti-Puncture Insert with Inner Tube—