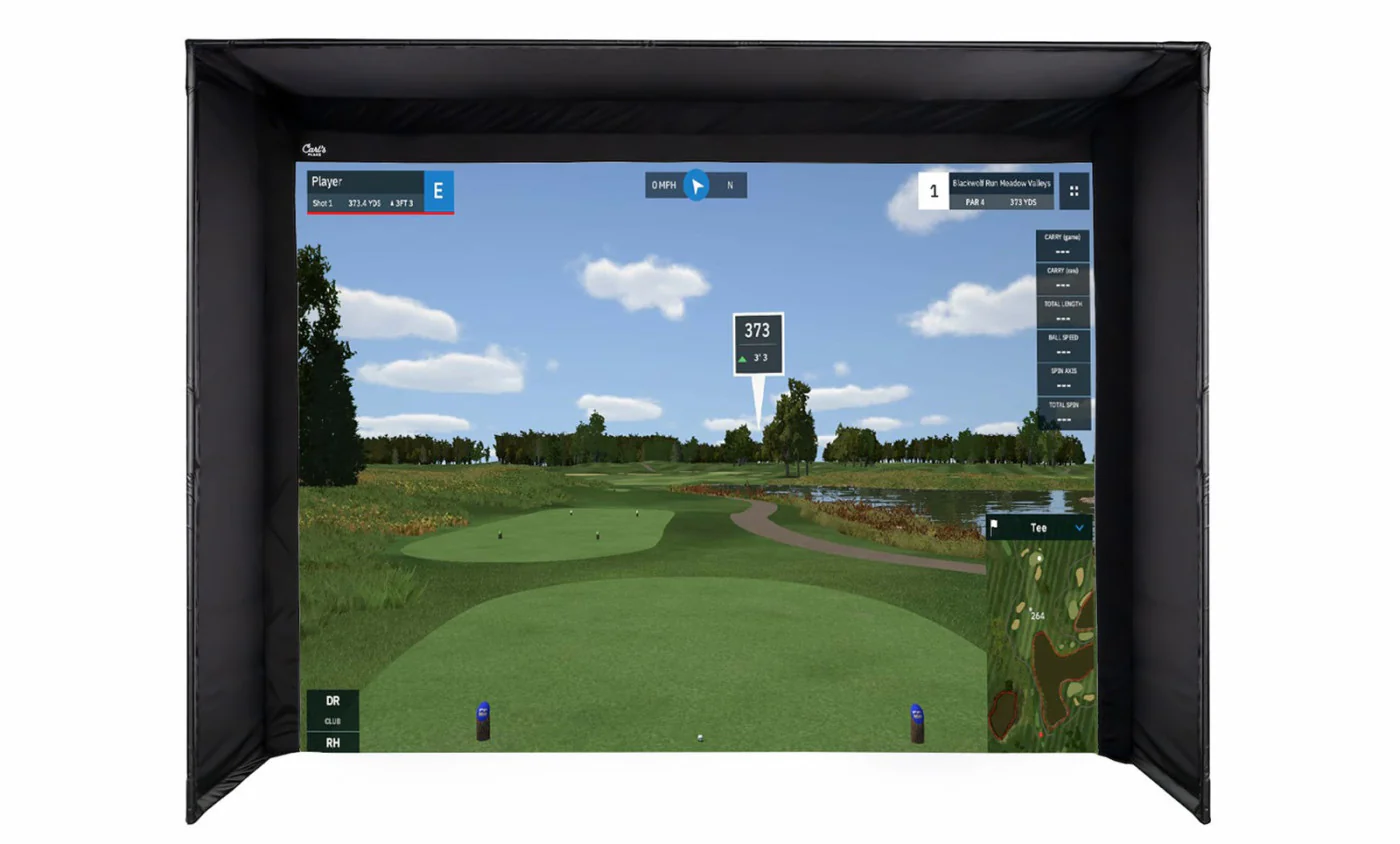
Carl's Place DIY Golf Simulator Enclosure Kit with Standard Impact Screen
Carl's Place DIY Golf Simulator Enclosure Kit with Standard Impact Screen
Get a seamless floor-to-turf image while golfing at home!
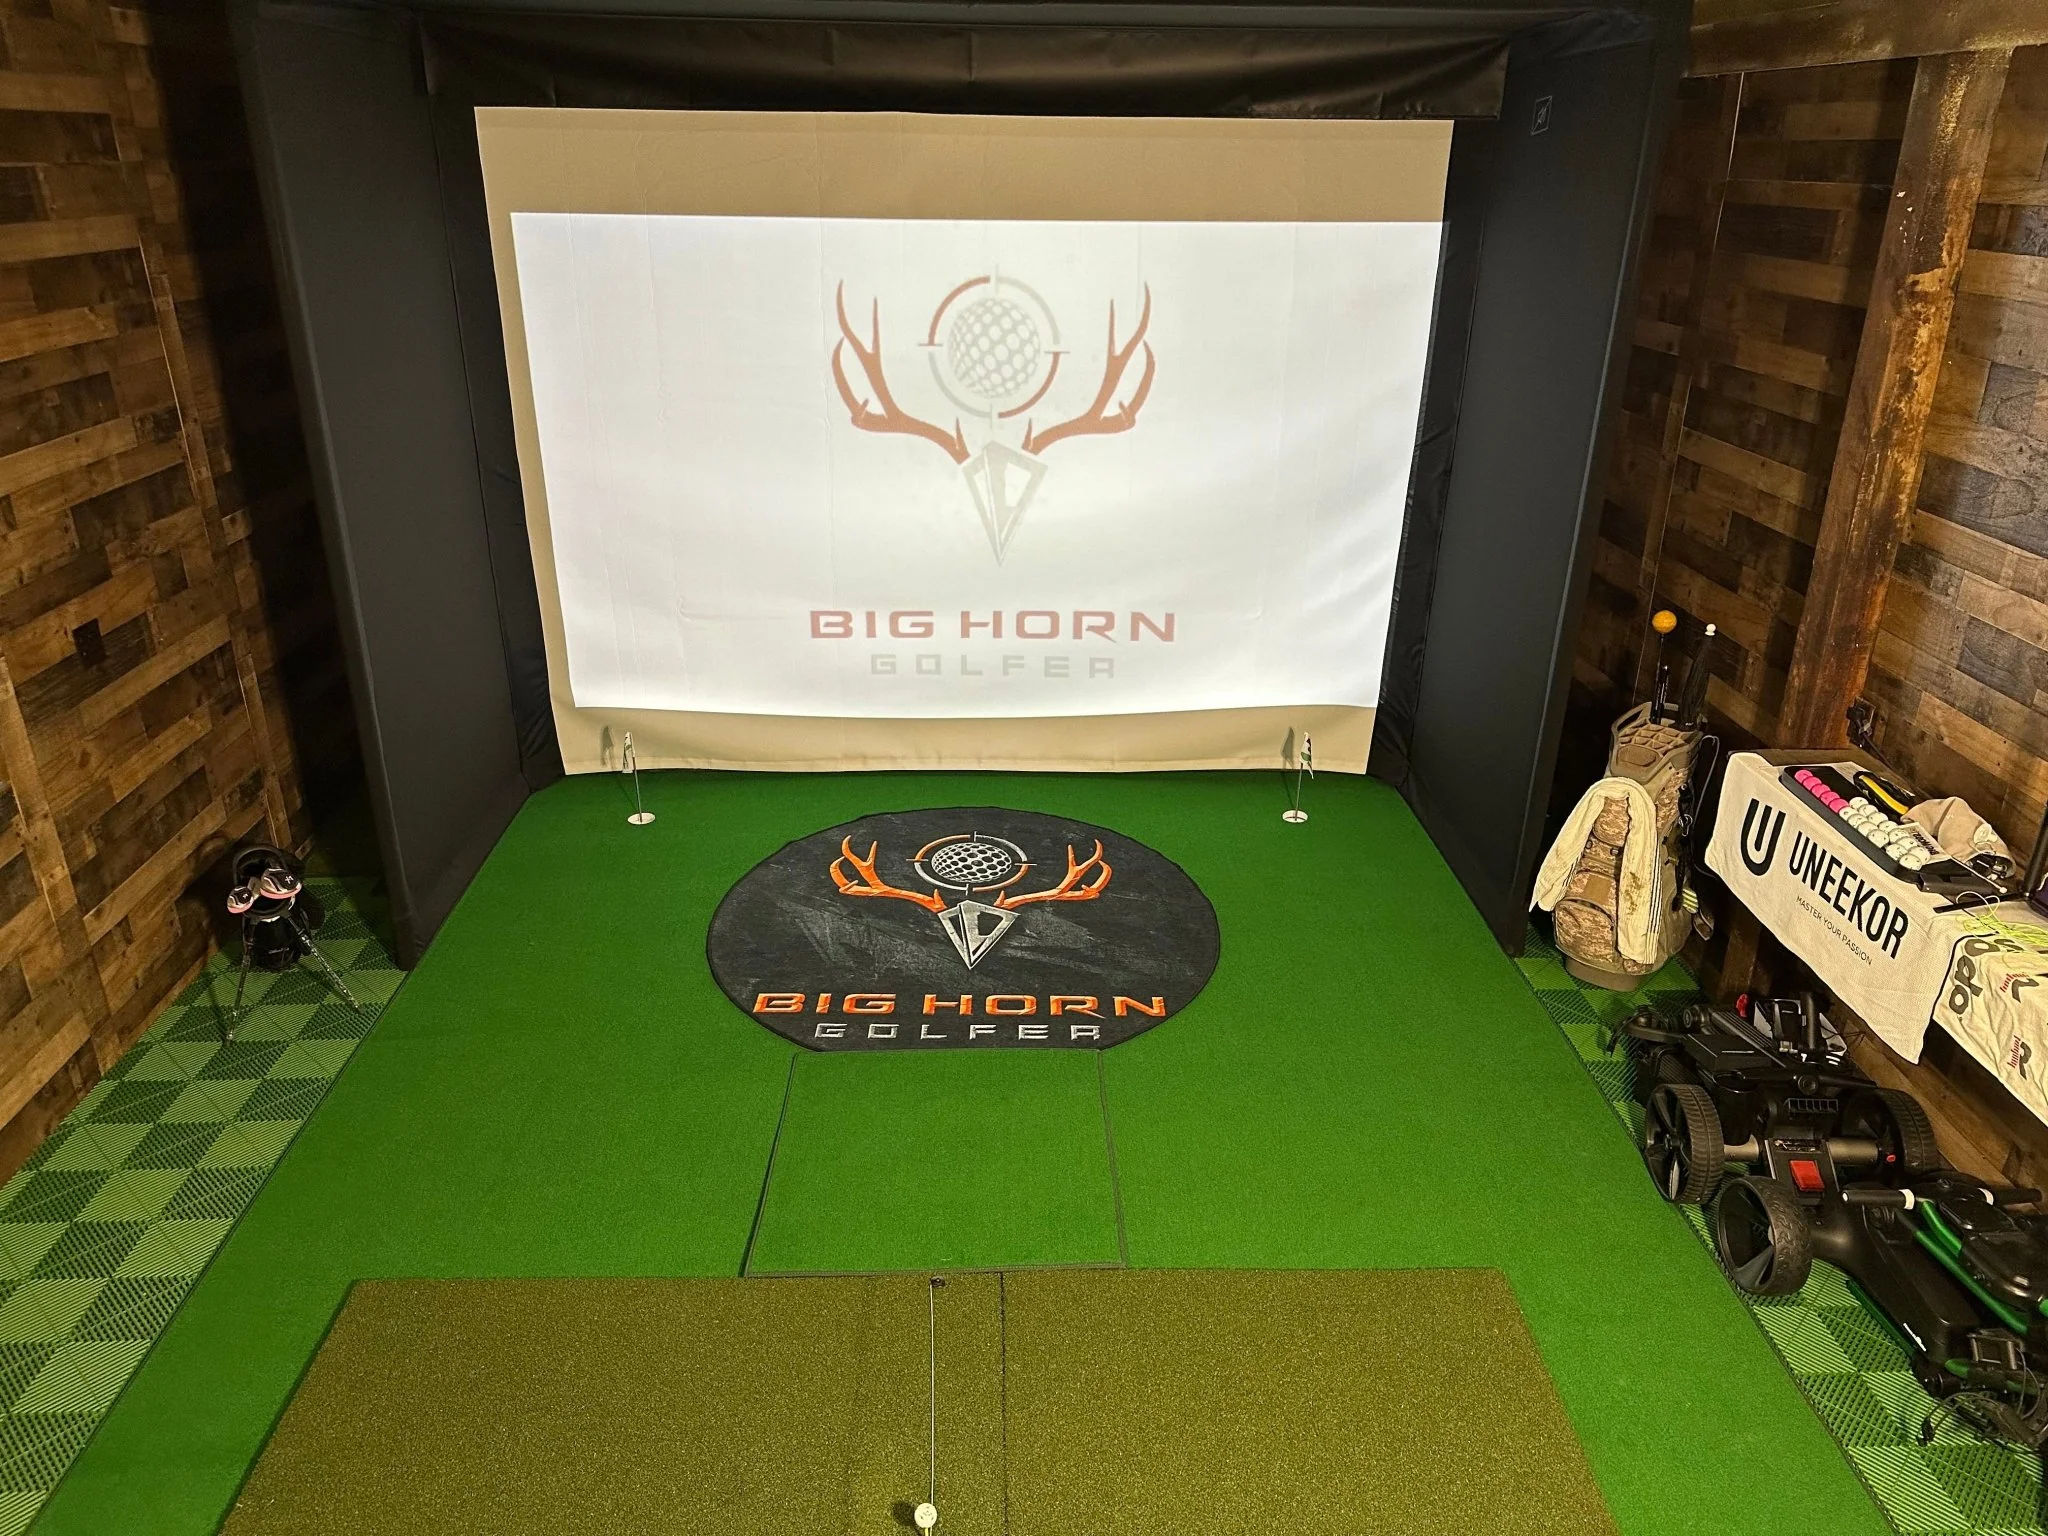
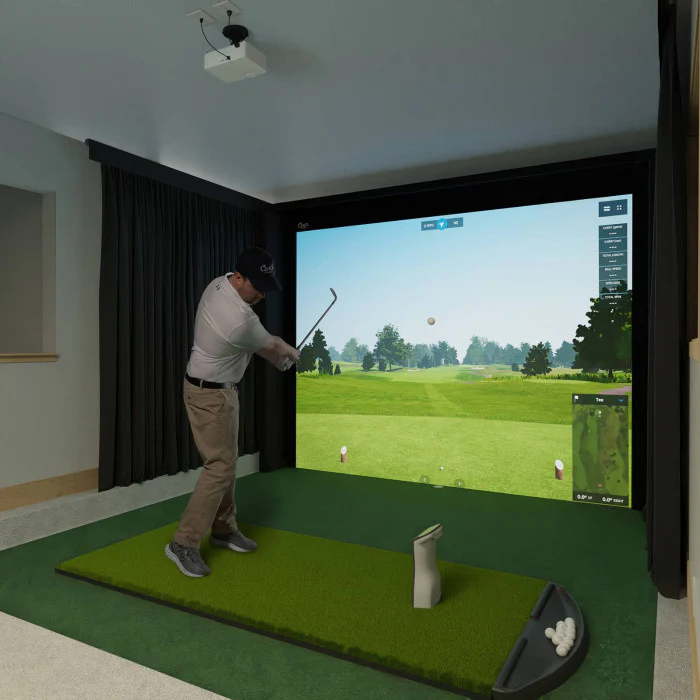
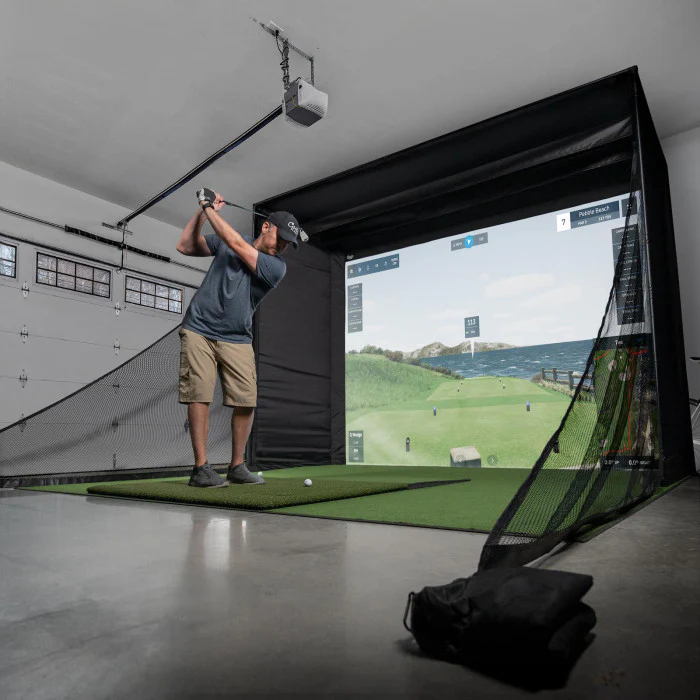
Carl's Place DIY Golf Simulator Enclosure Kits are designed to deliver a professional golf experience in the comfort of your own home. Each kit includes a durable nylon enclosure, premium impact screen that extends to the floor for a seamless view, and all the necessary fittings to assemble your frame. For added convenience, you can use our detailed pipe list or opt for the Pipe Framing Kit, giving you a complete, hassle-free setup.
Now offered with the High-Contrast Gray Premium Golf Screen, these enclosures provide sharper image clarity and enhanced contrast, even in spaces with ambient light, ensuring a more immersive and lifelike simulator experience.
Expected lead time is 10 business days for the enclosures to be built.
Details
Picture yourself entering a spare room within your home, where the opportunity to refine your golf swing is available year-round. The Carl's Place DIY Golf Simulator Kit revolutionizes indoor golfing, making it more accessible than ever. Discover our premium launch monitors and projectors meticulously crafted to elevate your self-made golf enclosure. Immerse yourself in an unparalleled, genuinely lifelike virtual golfing adventure from the convenience of your personal space. This remarkable arrangement also holds immense potential for ambitious indoor golf enterprises.
The estimated shipping time is 1-2 weeks.
DIY Golf Simulator Enclosure Includes
Your Choice of Impact Screen
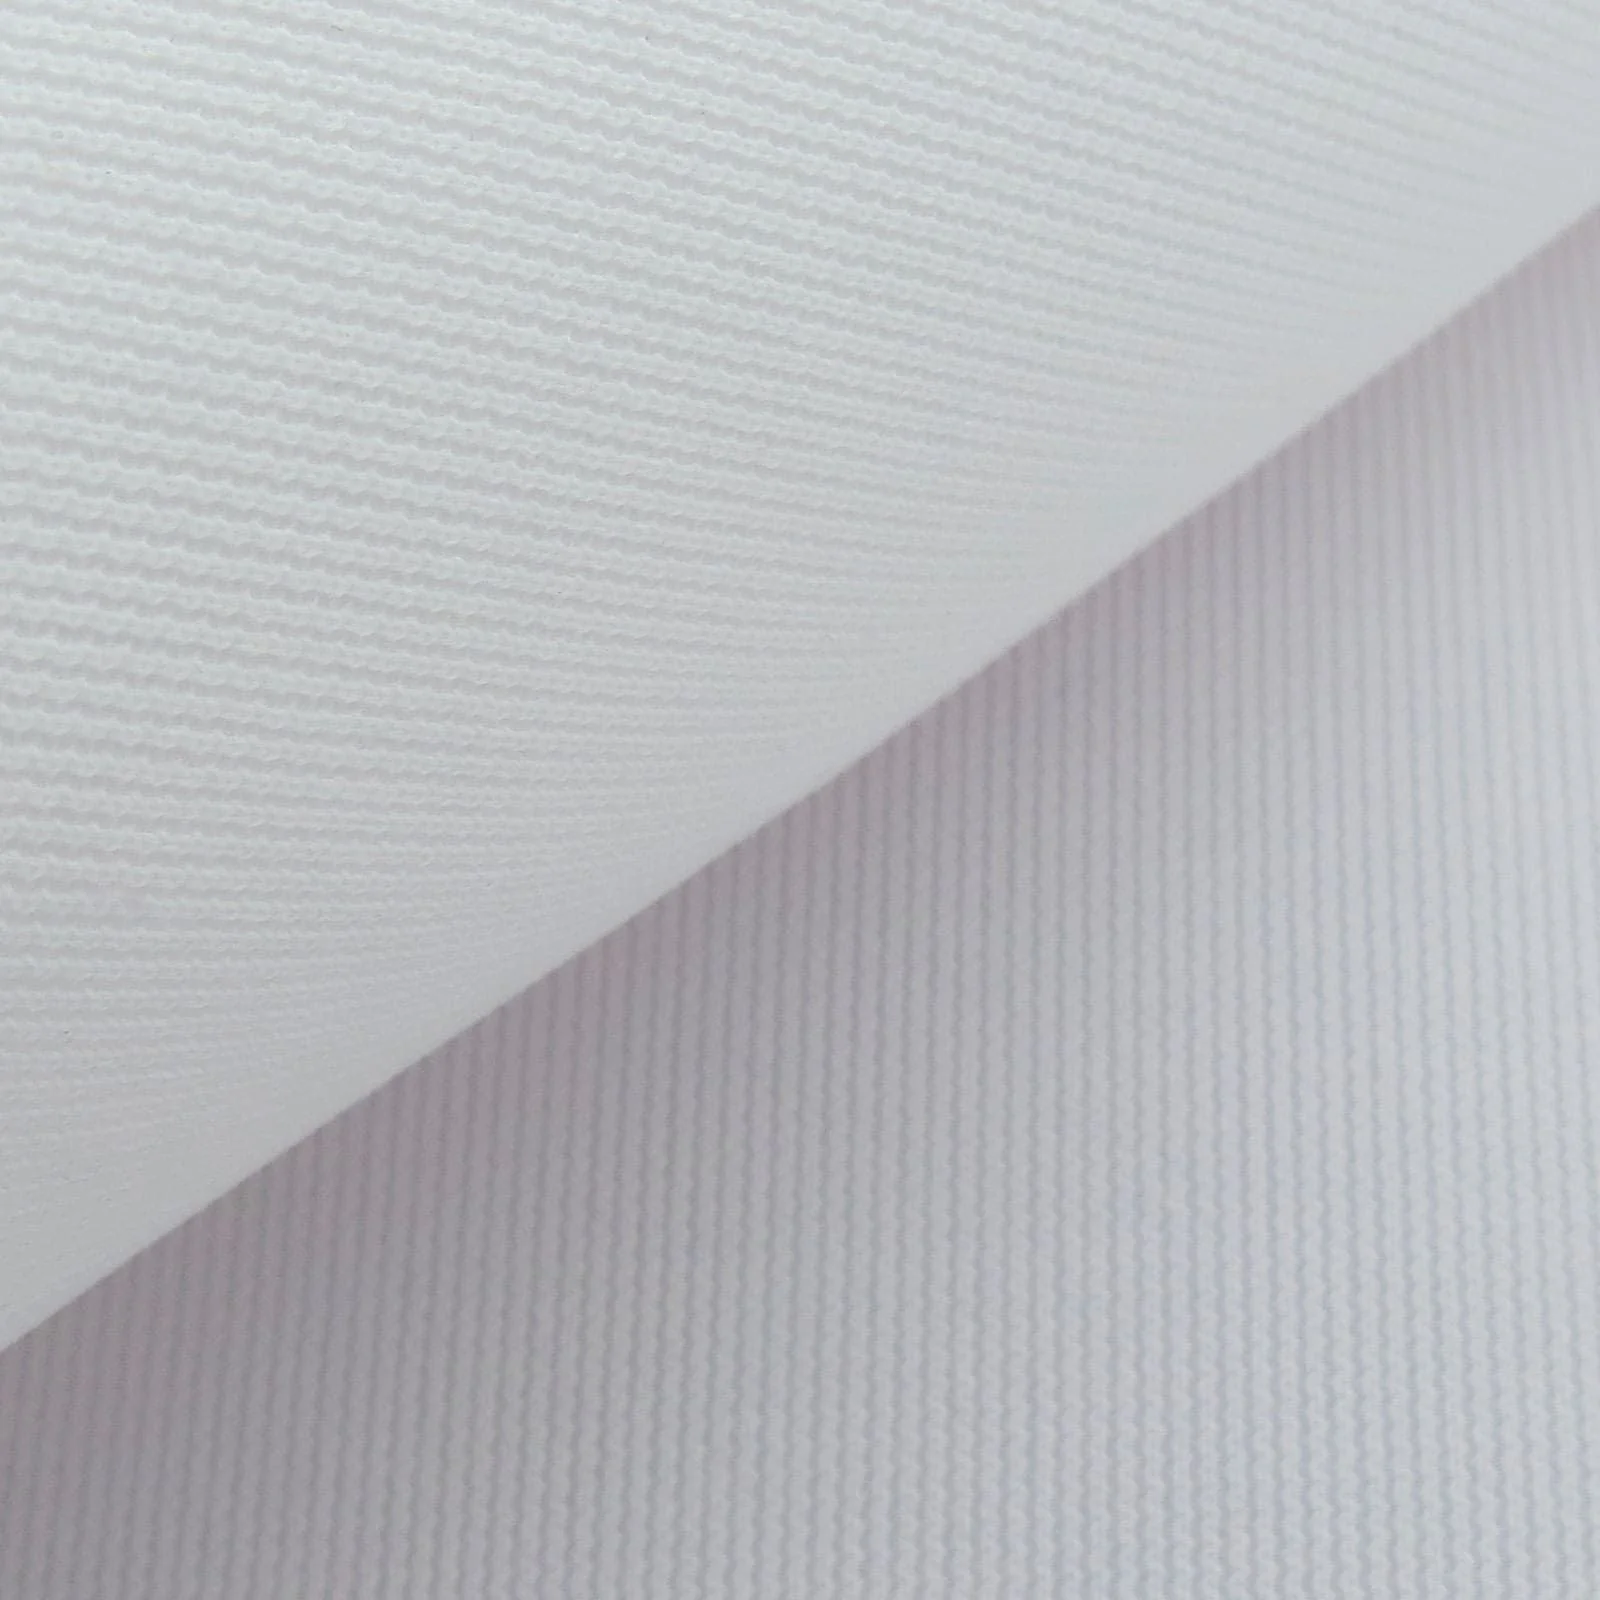
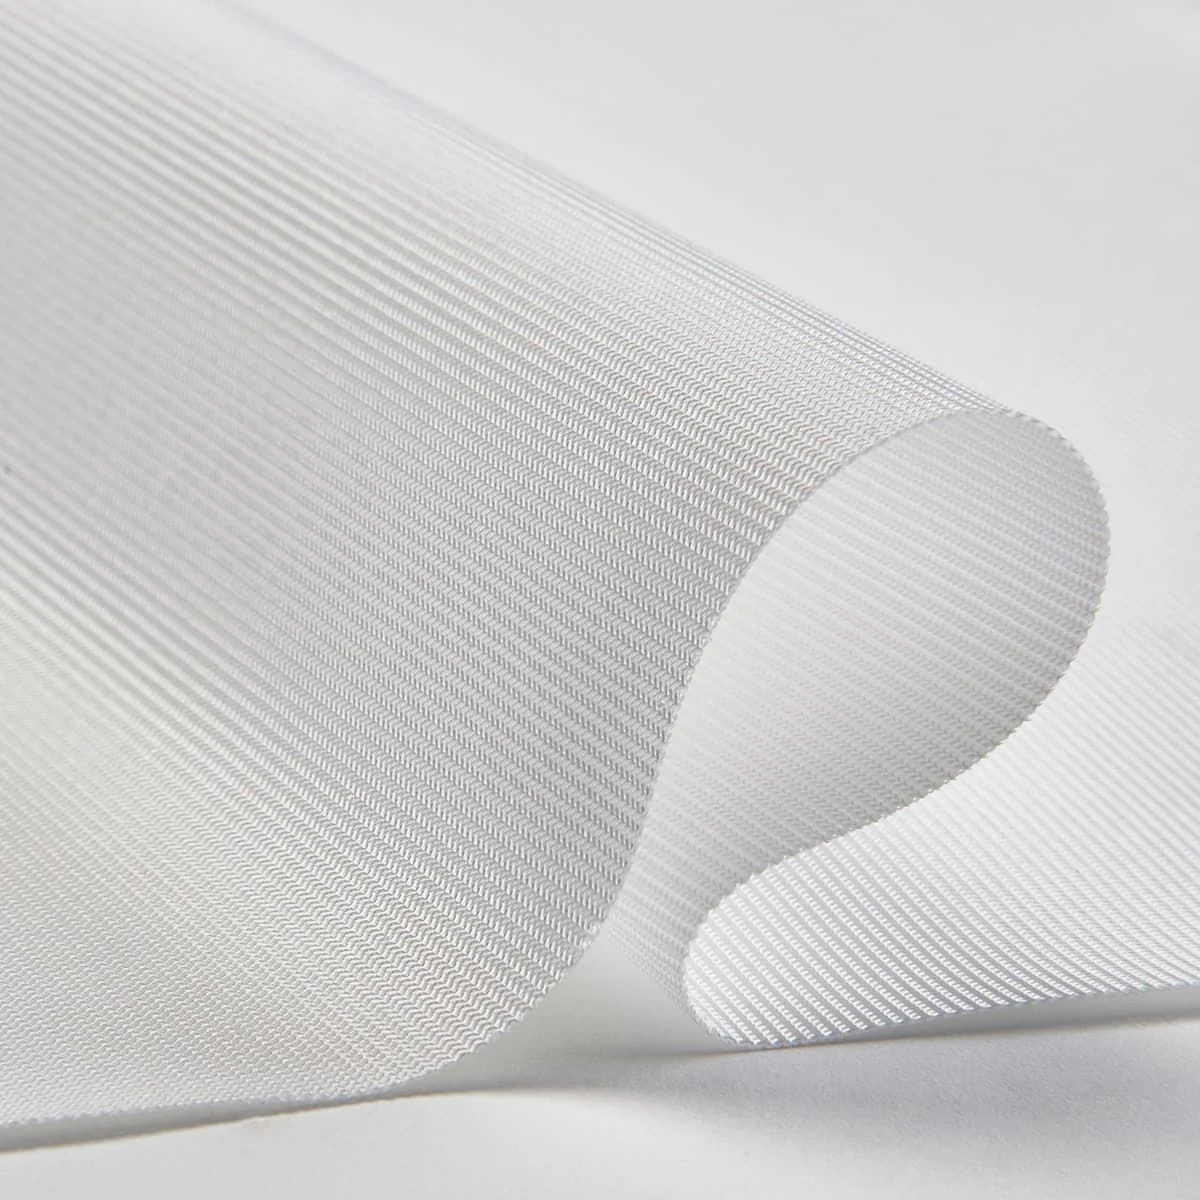
Our golf simulator impact screen material comes in four versions: Standard, Preferred, Premium, and now High-Contrast Gray Premium. Each is engineered to create a bottomless edge that creates a picture-perfect floor-to-turf image with minimal bounceback.
How do I know?
Screen Material Help

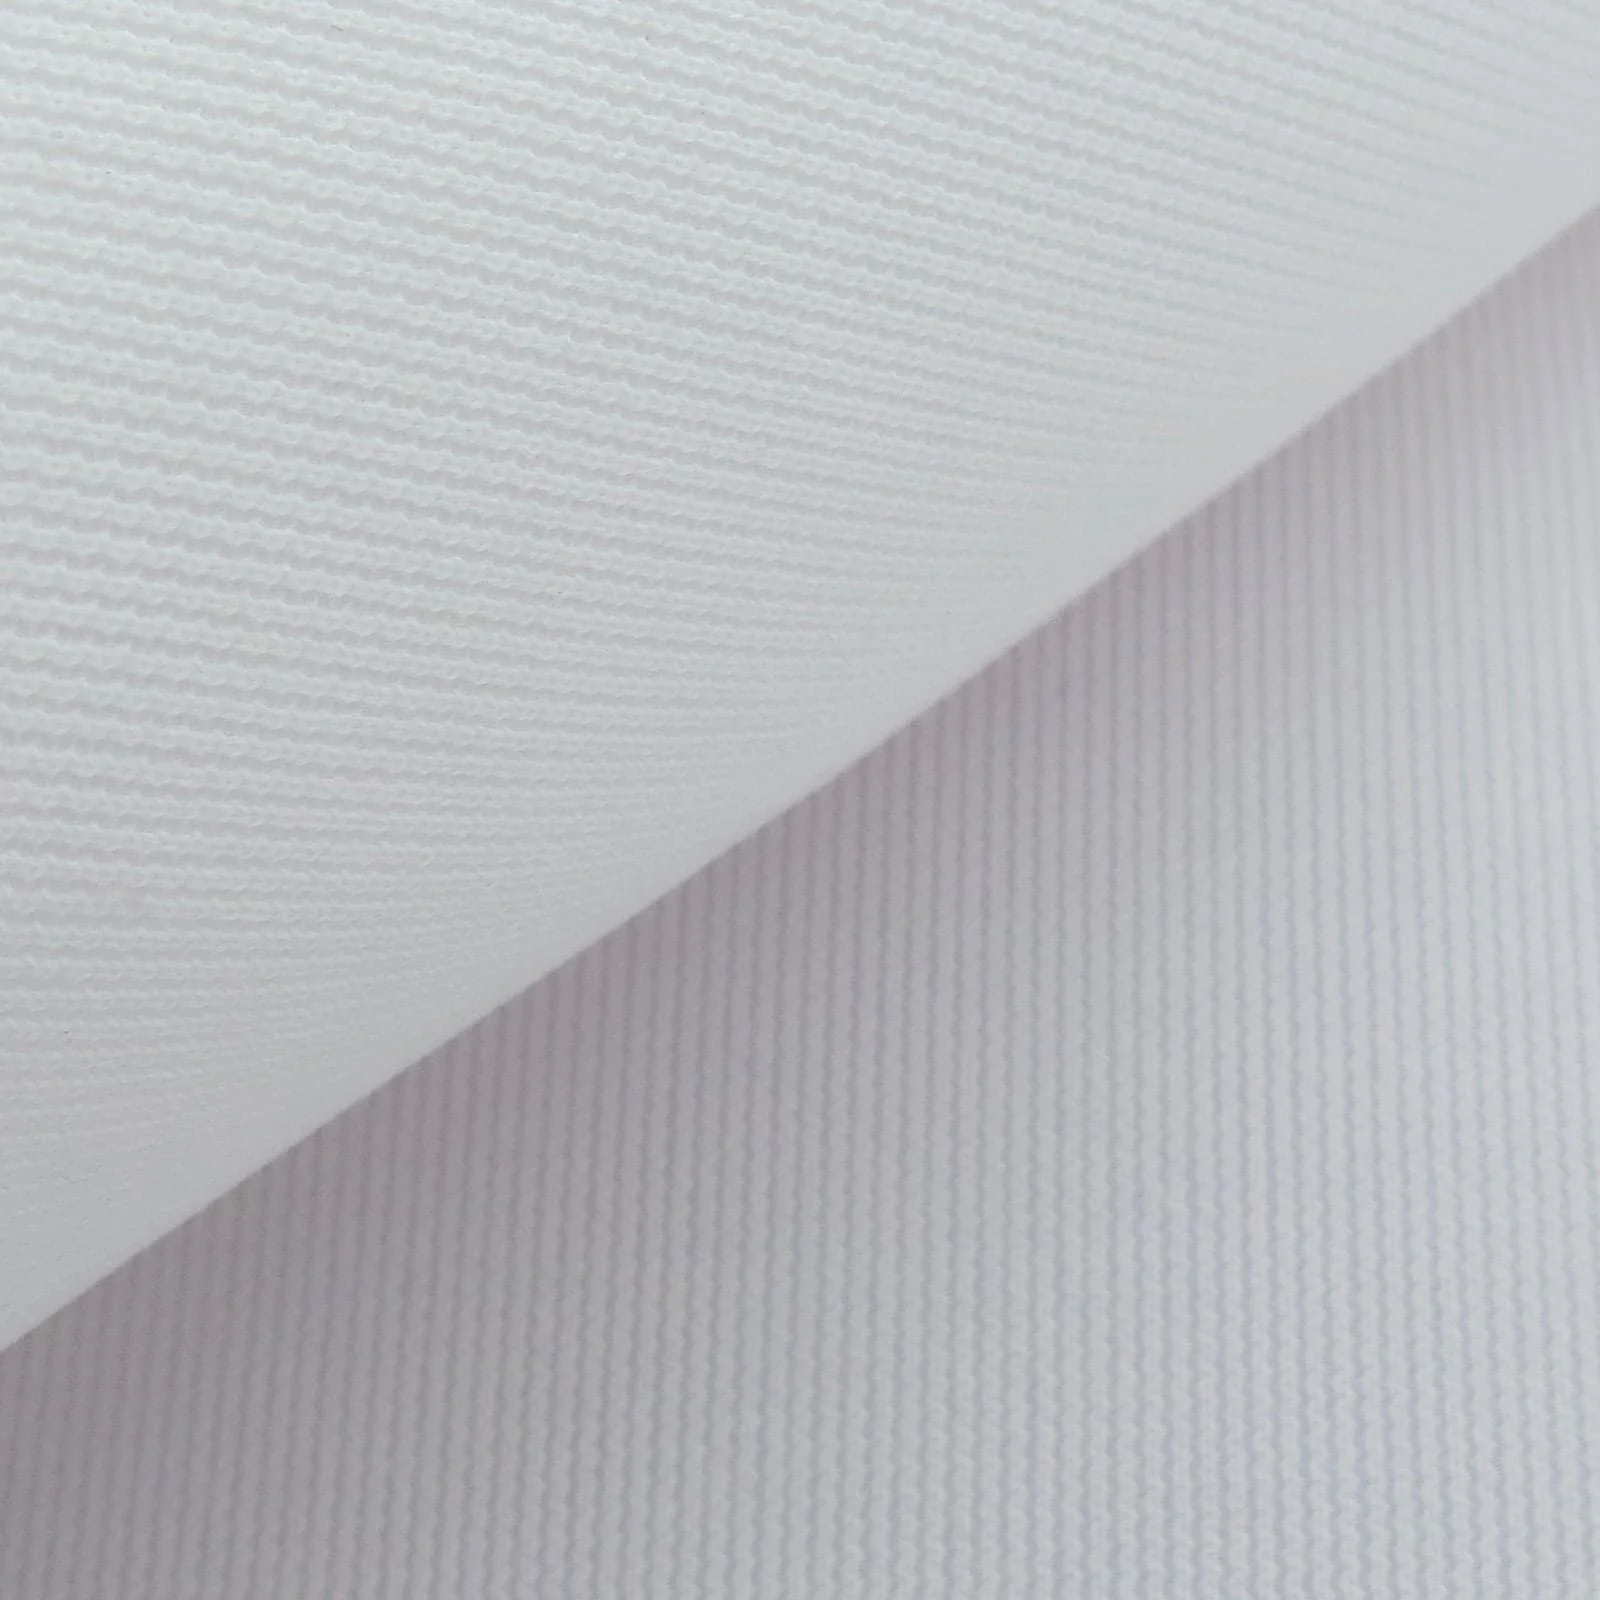
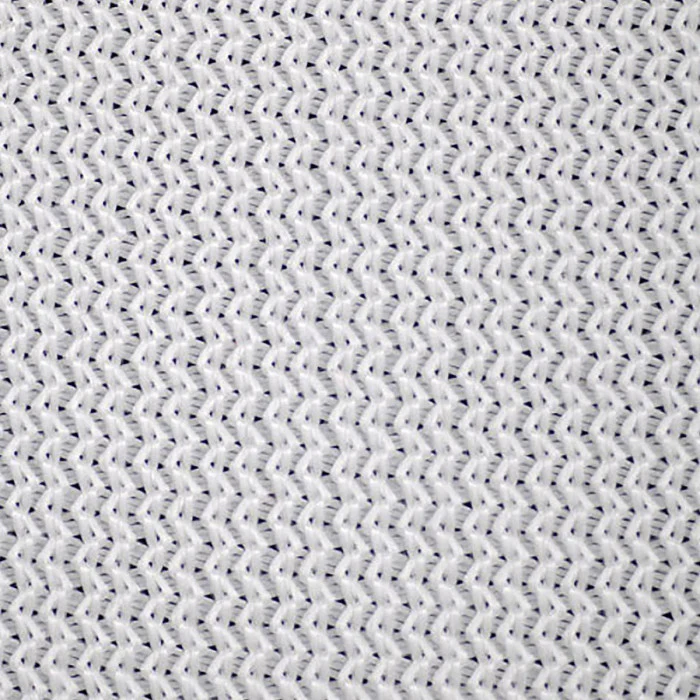
Standard golf impact screen (far left)
• Budget material perfect for beginners
• 100% heavy-duty polyester
• Loosely woven
Preferred golf impact screen (center left)
• Smoother surface for better image quality
• 100% heavy-duty polyester
• Strong silicone reinforcement
• Tightly woven knit
Premium golf impact screen (center right)
• Smoothest surface available
• Superior image quality
• 3 layers of heavy-duty, impact-resistant polyester
• Noise-dampening center layer
High-Contrast Gray Premium golf impact screen (far right)
• Same top-of-the-line material as our Premium screen
• Allows for deeper blacks and richer colors
• Great for areas with more ambient light
BlackStop™ Enclosure
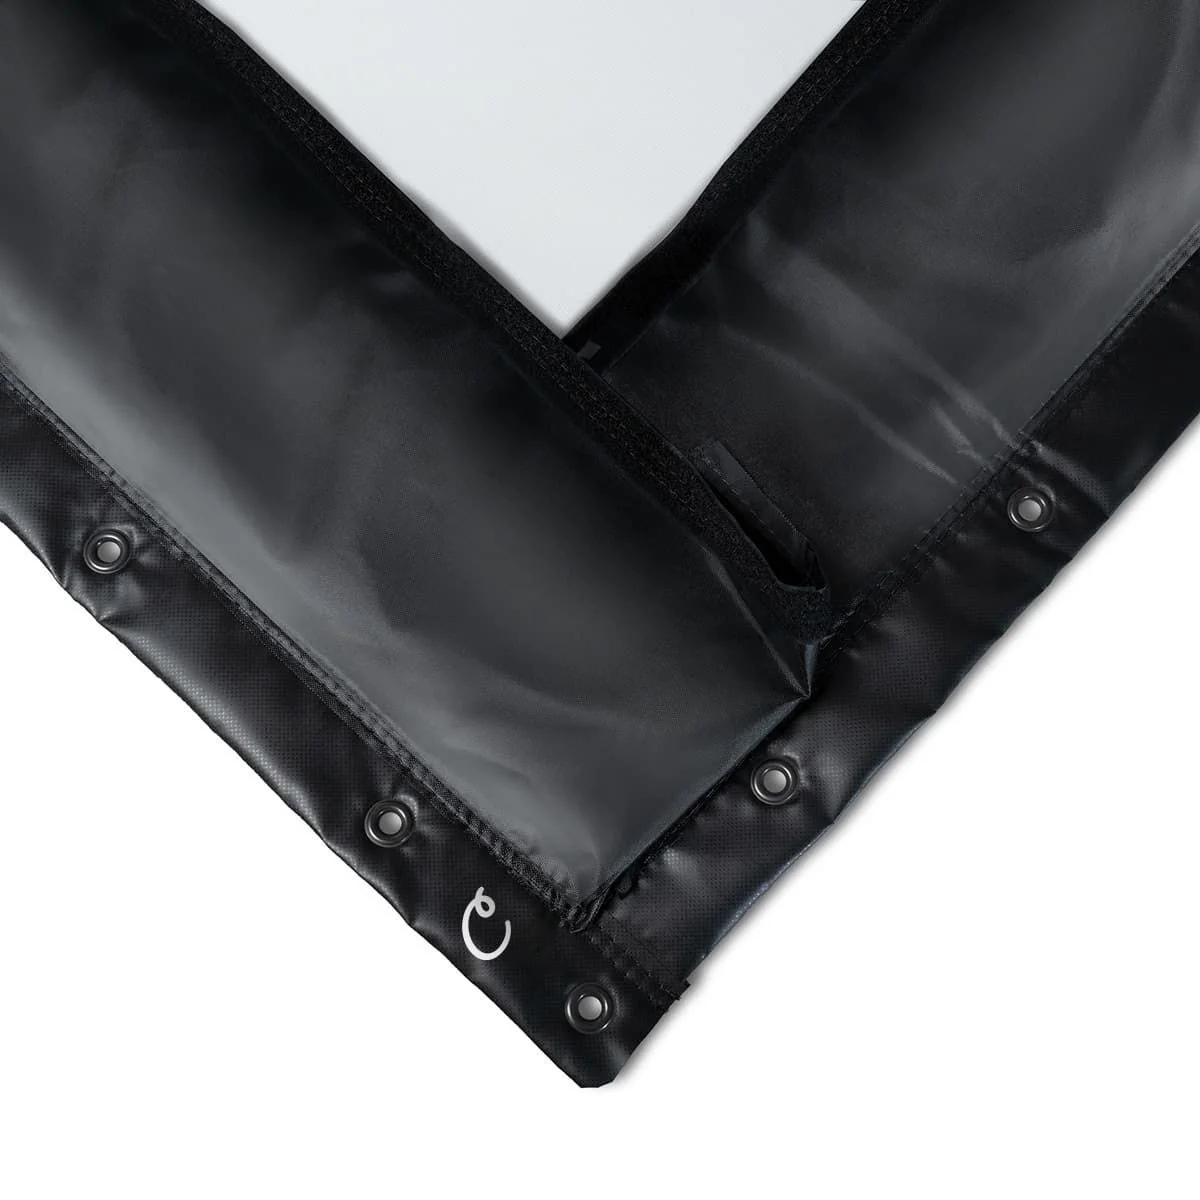
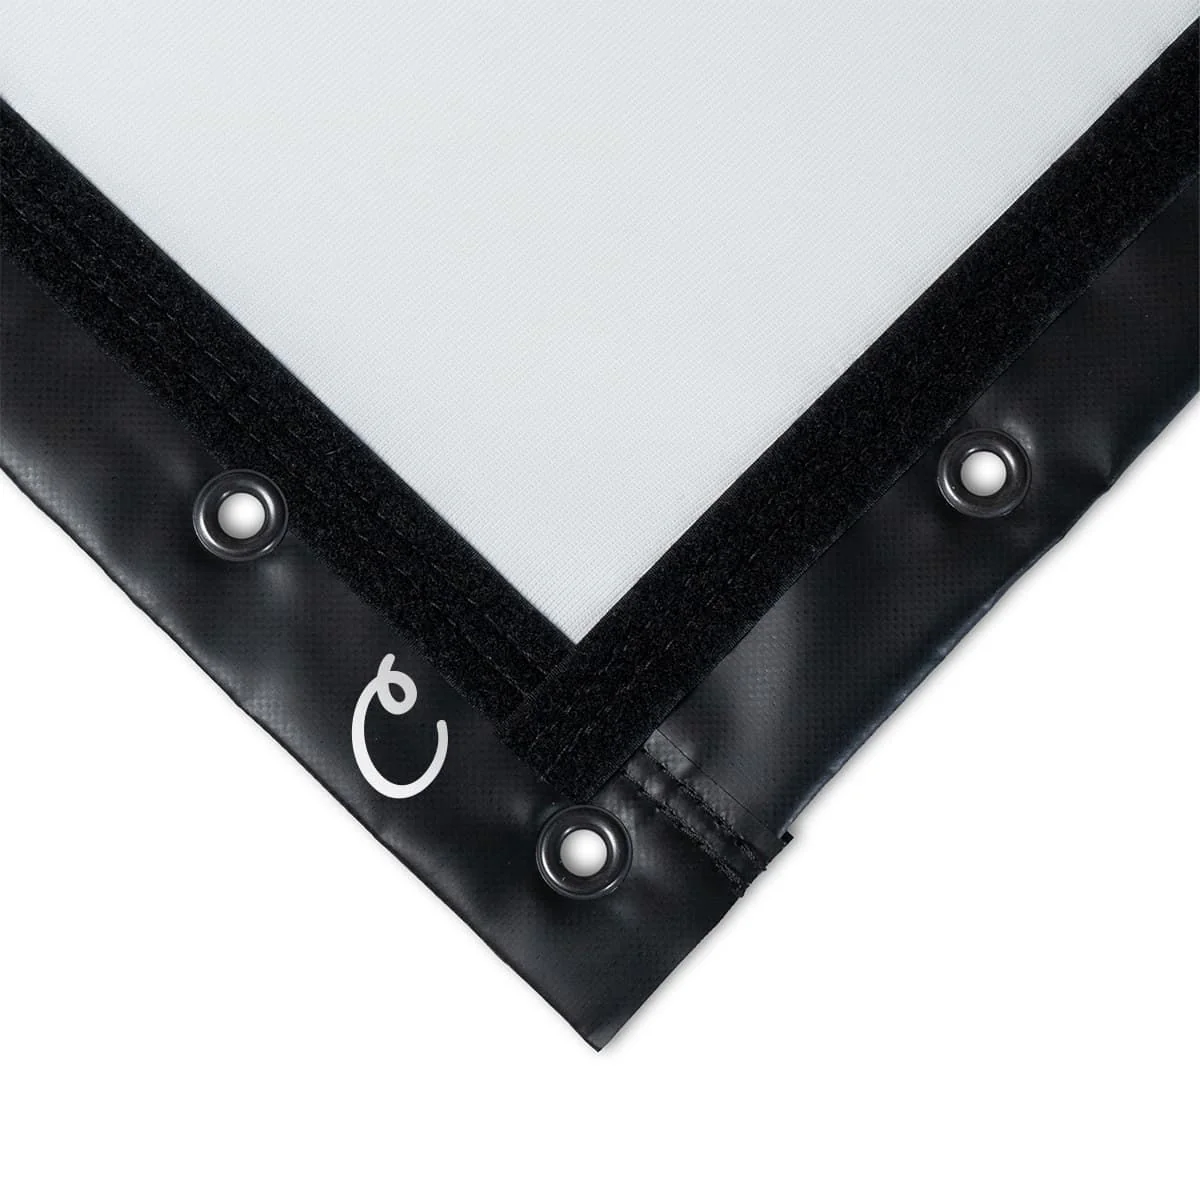
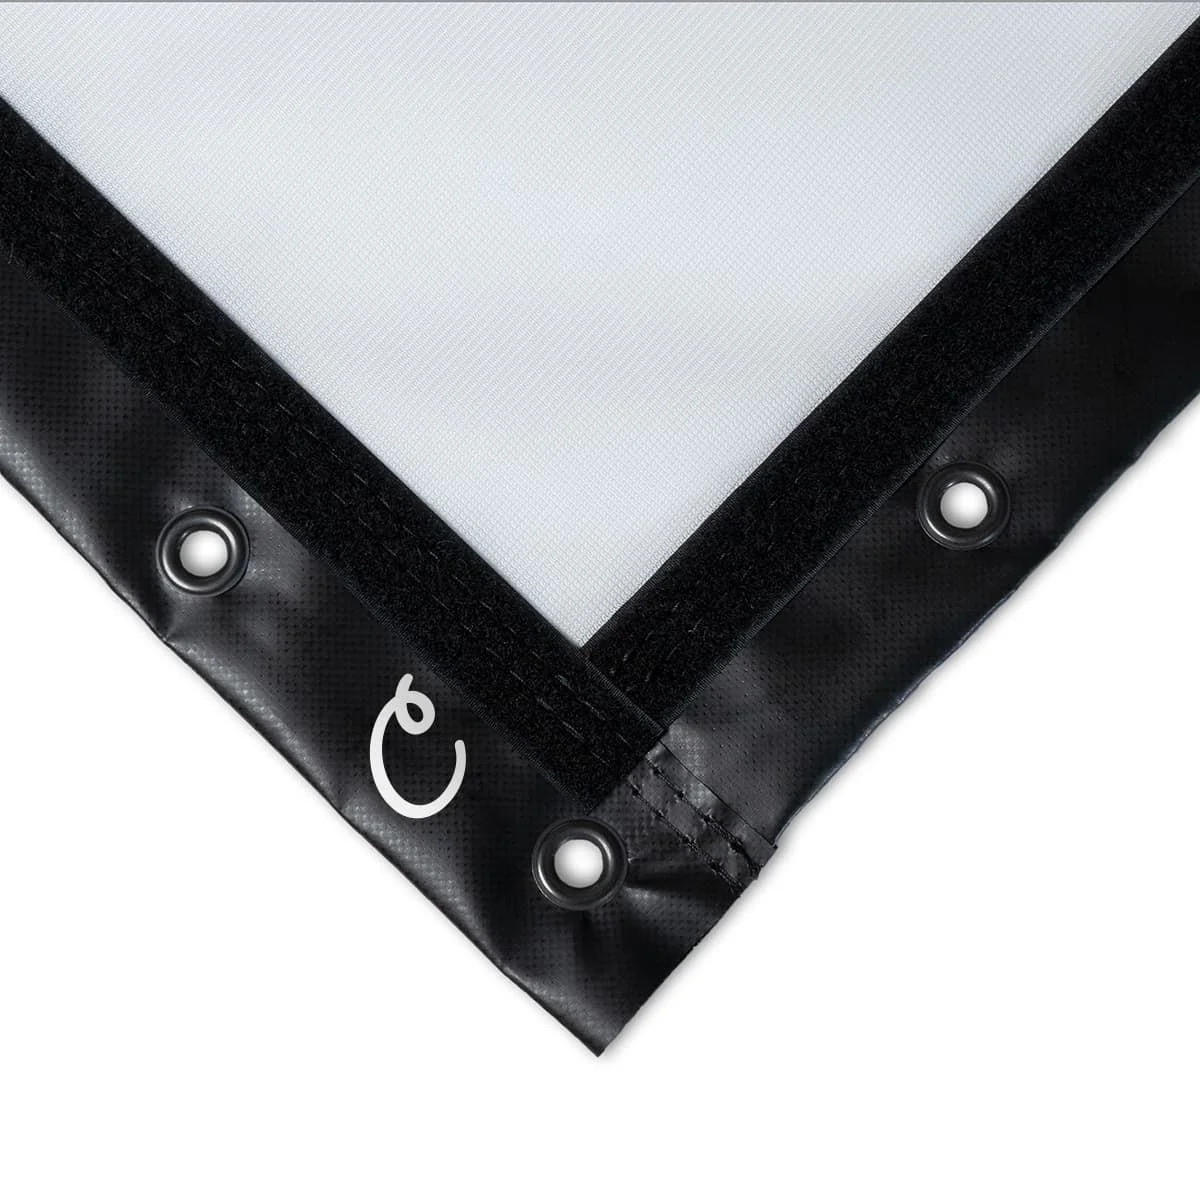
The BlackStop™ enclosure surrounds your simulator with a tough surface to shade the screen for your brightest image. It also creates a hitting bay golf environment that catches any shots that miss or bounce off the screen. Because you don't want to put a bunch of golf ball-sized holes in your wall.
Steel Fittings
Zip Ties
We include all the fasteners you need to secure your enclosure and screen. You'll get zip ties to secure your screen to the frame. We even give you extra so you find the perfect balance of tension for your specific swing style. Depending on how close you're hitting to the screen, ball speed, clubs used, and spin rates, you can adjust them all to find your sweet spot between tension and slack.
How To Choose Your Enclosure Size
DIY Enclosure Kit Actual Dimensions

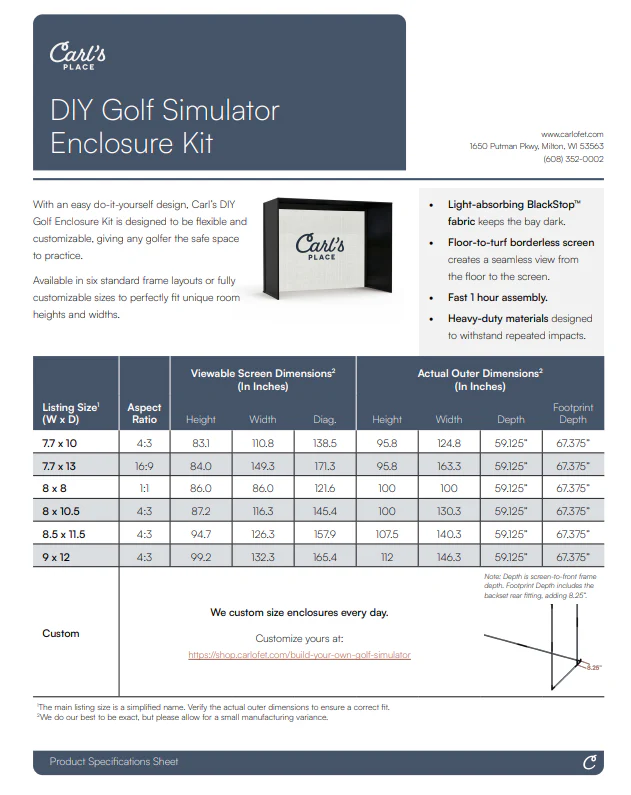
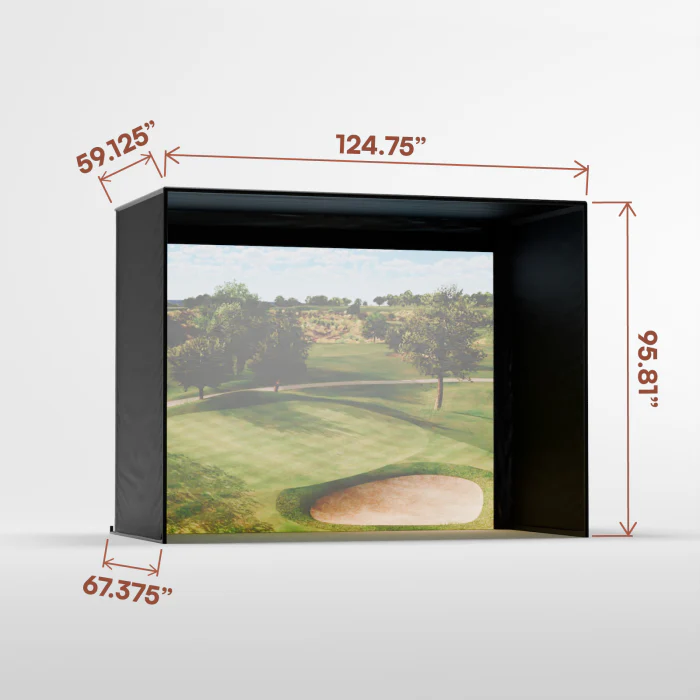
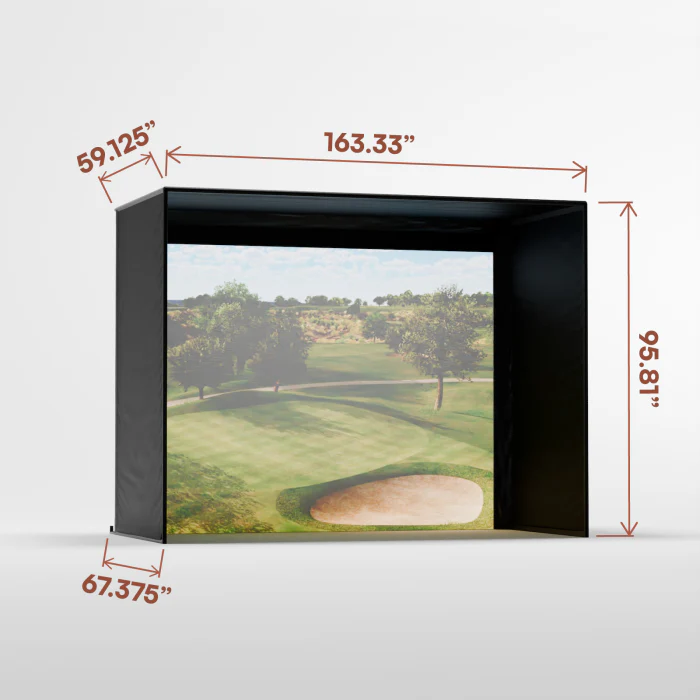
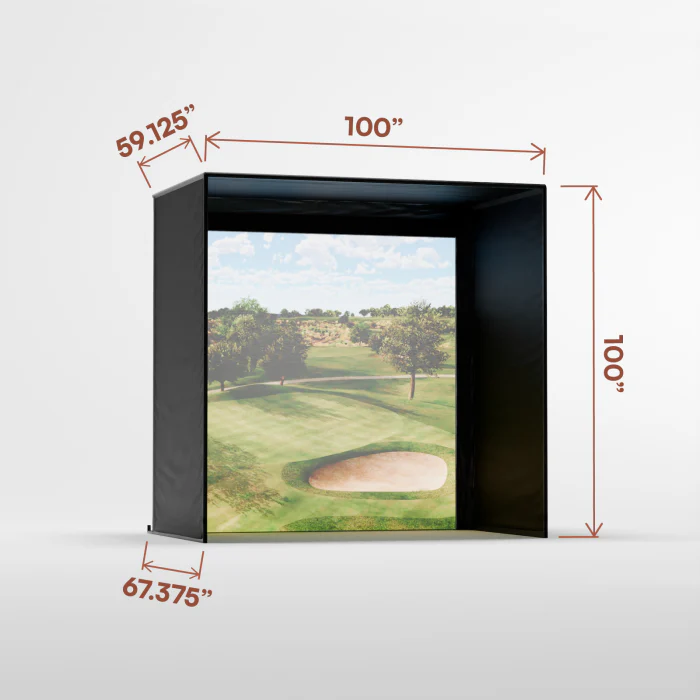
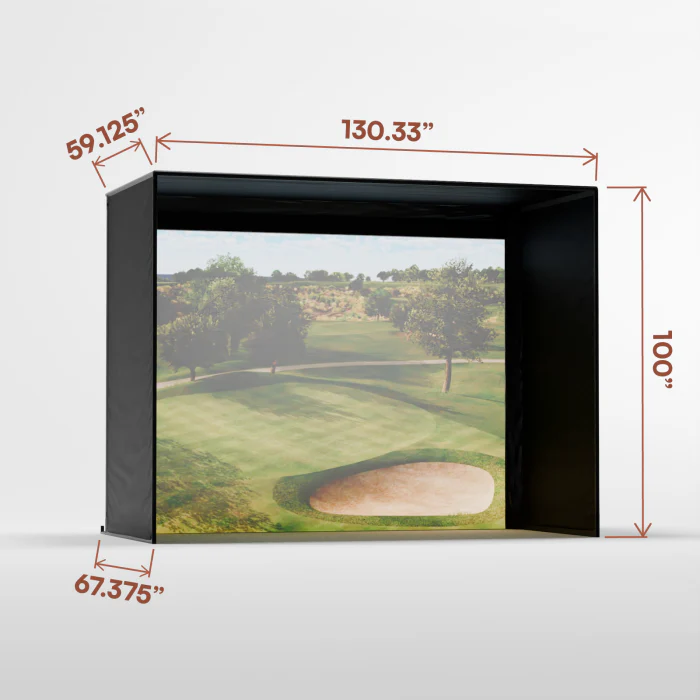
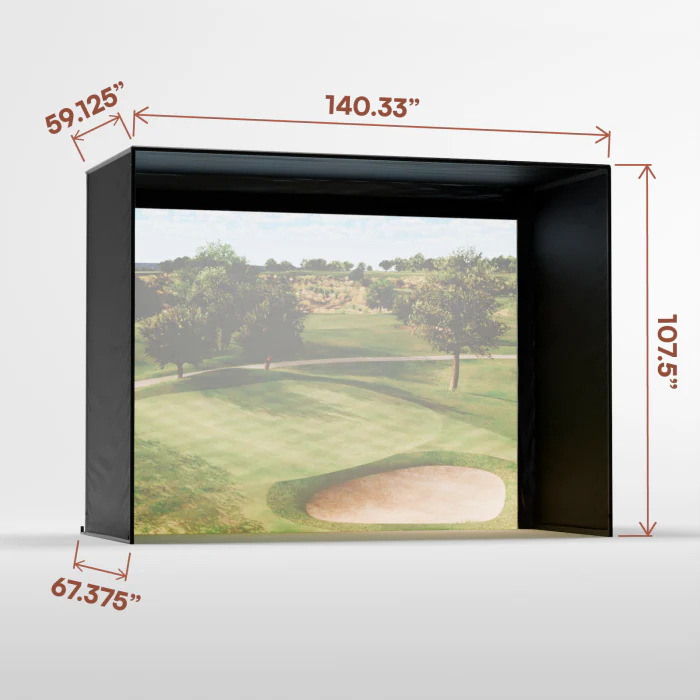
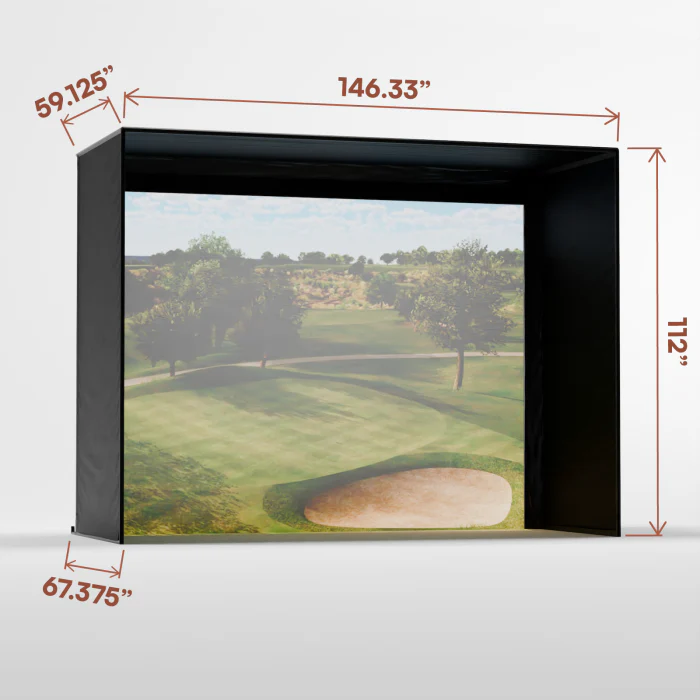
Our standard DIY Enclosures list their actual outer dimensions on this DIY Enclosure Specifications chart. Check the actual dimensions of the enclosure to know how big of a golf simulator your space can fit.
Make sure to leave room for buffer space. 12" at the rear is recommended. A minimum of 8.25" is required to fit the rear fittings.
DIY Golf Enclosure Set Up
See the install of a Carl's Place DIY C-Series Enclosure.
EMT Requirements
Unless you've selected the Pipe Framing Kit add-on, you'll need to purchase 1-inch EMT (electrical metal tubing) from your local hardware store to complete your frame. We'll include all details on what lengths and quantities of EMT are required.
Please note, 1-inch EMT is the US trade name of the material, however, the true outer diameter is 1.163" or 27mm.
Resources
Documents
Carls Place DIY C-Series Enclosure Kit Assembly Instructions & User Manual.pdf
DIY Golf Simulator Enclosure Kit Specifications.pdf
7.7x10x5 DIY Enclosure Diagram.png
7.7x13x5 DIY Enclosure Diagram.png
8.5x11.5x5 DIY Enclosure Diagram.png
8x10.5x5 DIY Enclosure Diagram.png
8x8x5 DIY Enclosure Diagram.png
9x12x5 DIY Enclosure Diagram.png
FAQ
Installation
How do the ball bungees work?
Along with reusable zip ties, ball bungees are used to secure screens and enclosures to the frame.
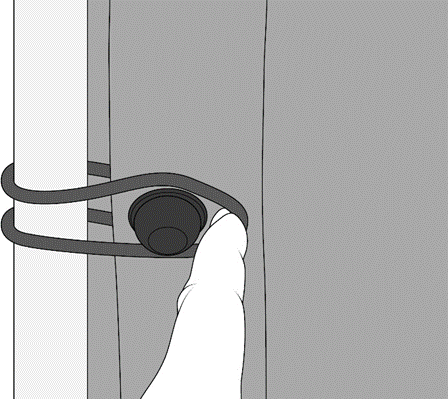
- Insert the loop end of the bungee into a grommet from behind the screen.
- Thread it through the grommet until the toggle ball touches the backside of the grommet.
- Pull the cord over and around the frame/pipe.
- Hook the cord over the toggle ball to create a loop.
What pipes do I need to construct the enclosure kit frame?
Our DIY Golf Simulator Enclosures require 1-inch EMT (Electrical Metal Tubing/Conduit). We recommend you add a Pipe Framing Kit to your order so you get pre-cut, perfectly sized pipes for your enclosure frame. However, you can source EMT pipes on your own. Your kit will include all details on what lengths and quantities of pipes are required.
How long does it take to assemble the enclosure?
DIY Golf Simulator Enclosure Kits assemble in about an hour, depending on the size. Of course, it goes a bit faster if you have a helper. Here's our assembly video and manual for reference.
What are EMT pipes?
EMT stands for Electrical Metal Tubing, also known as, Electrical Metal Conduit. We often just refer to them as pipes on our website. You need EMT (pipes) to build the frame for your enclosure/screen. Do not mistake PVC pipes for EMT. PVC will not work with our fittings. You have 2 options on how to get the necessary pipes:
- Add a Pipe Framing Kit. (You'll see these as accessories on our DIY and Pro Golf Enclosure Kits.
-
Source EMT pipes at your local building supply store.
- DIY Enclosures require 1″ EMT.
- Pro Enclosures require 2" EMT which can be more difficult to find. Make sure you have a source for your EMT when selecting whether you want to add on our Pipe Framing Kit options.
Where and how should I mount my projector?
The projector specifications determine the maximum image size and how far from the screen it will need to be mounted. Check out our screen size calculator to find the best mounting location.
As for how to mount your projector, here are the places to put a golf simulator projector.
- Mount a projector above your tee or mat.
- Flush-mount to your ceiling in spaces with lower ceilings
- Drop-mount from your ceiling in spaces with higher ceilings
- Frame-mount from your Carl's Place Pro Enclosure
- Place a short-throw projector on the floor inside the golf simulator. Of course, if you floor-mount your projector you must build or buy a protective cover to keep it safe from golf balls and clubs.
Read more here about projector mounting options.
Care and Use Information
How far away should I stand from my impact screen?
For the safety of both the golfer and the screen, we recommend standing a minimum of 10-12 feet away from the screen.
Can I iron or steam a golf impact screen?
We do NOT recommend ironing your golf screen, simply because it is very easy to damage the screen. And we want your golf screen to last you a long, long time. With wrinkles and fold marks, the best thing is prevention. Unpack your new screen immediately, and if you need to store it, fold it very loosely. But if you're reading a section on ironing your golf screen, it's probably too late for prevention. Know that mounting your golf screen to a frame with tension, like with our ball bungees, and letting it relax for a couple of days will smooth out most wrinkles.
That being said...
We have heard of customers being successful in removing wrinkles and fold marks from their screens using a clothes iron. If you want to try this, do so only on the backside of the material and on a VERY LOW setting. If it doesn't go well, you might want to check our Clearance section for a new screen.
Can I wash my golf screen material?
Check out this article for all our recommendations on 'How to Clean Your Golf Impact Screen'.
Are there safety concerns when using a golf simulator?
We want your indoor golf set up to be fun, help improve your game, and be safe for everyone.
- Make sure to follow the assembly manual provided with your enclosure.
- Keep children, pets, and spectators out of swing range.
- Protect ceilings, walls, windows, cars & neighboring homes.
- Understand the Terms of Sale of using a Carl's Place product.
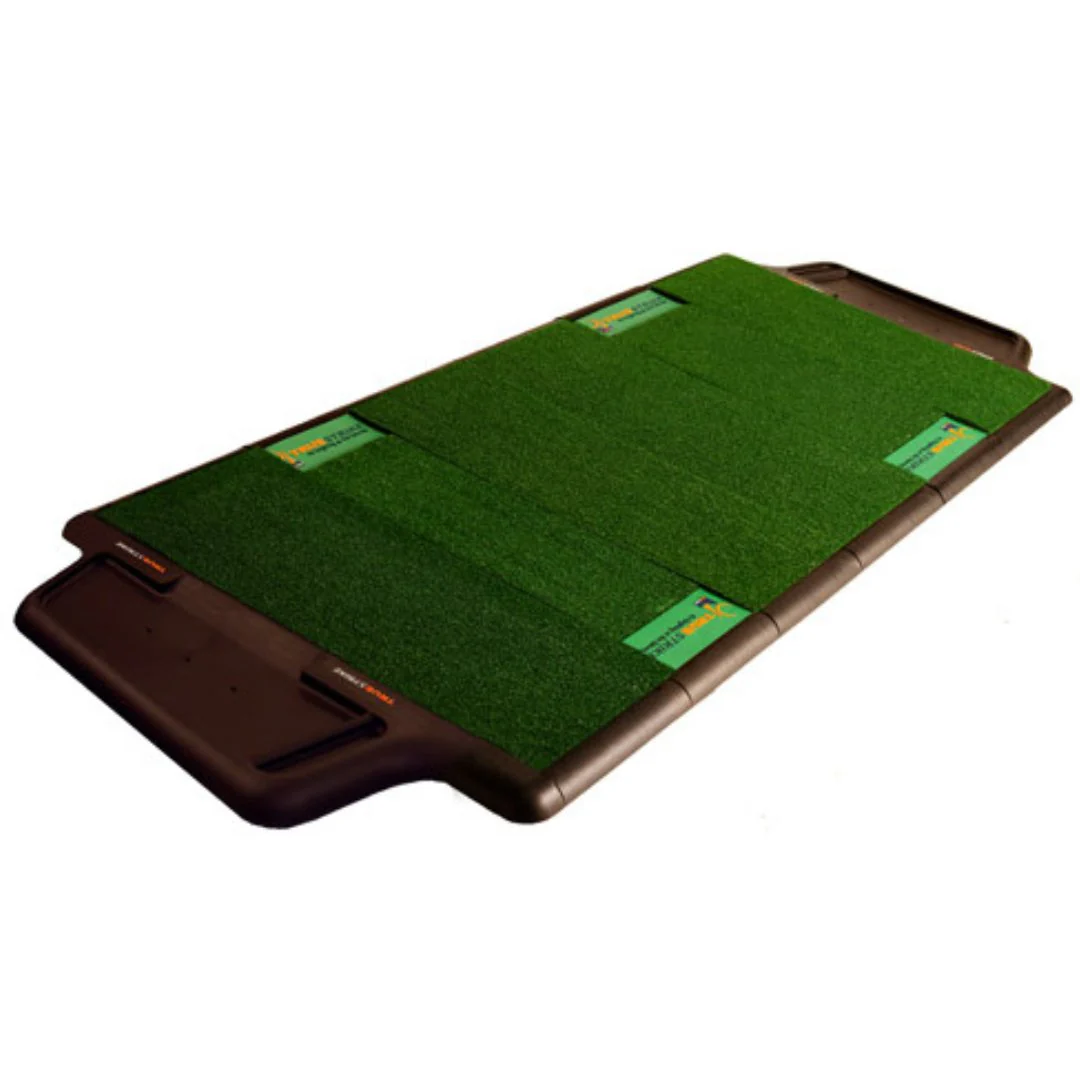
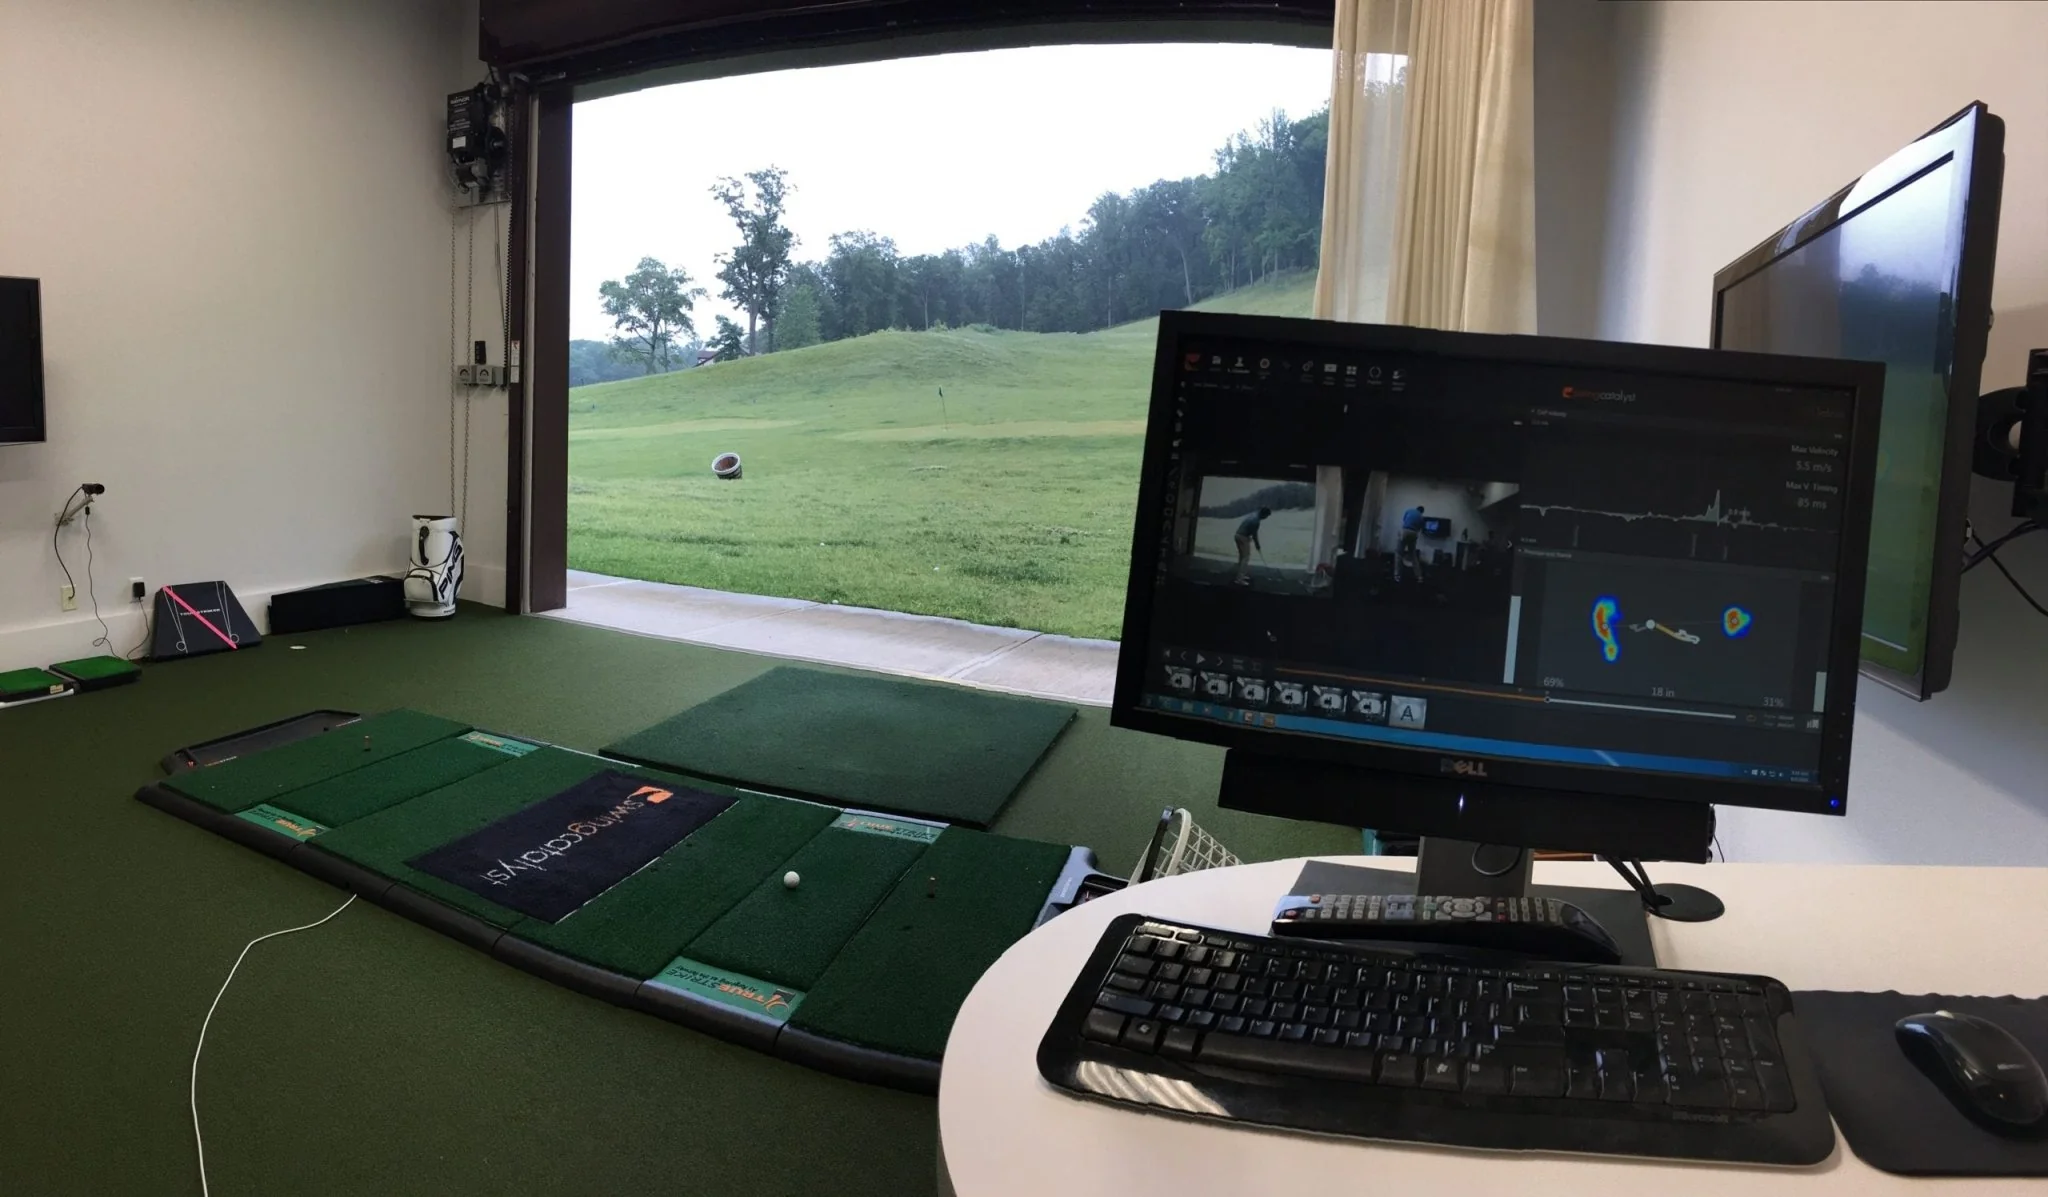
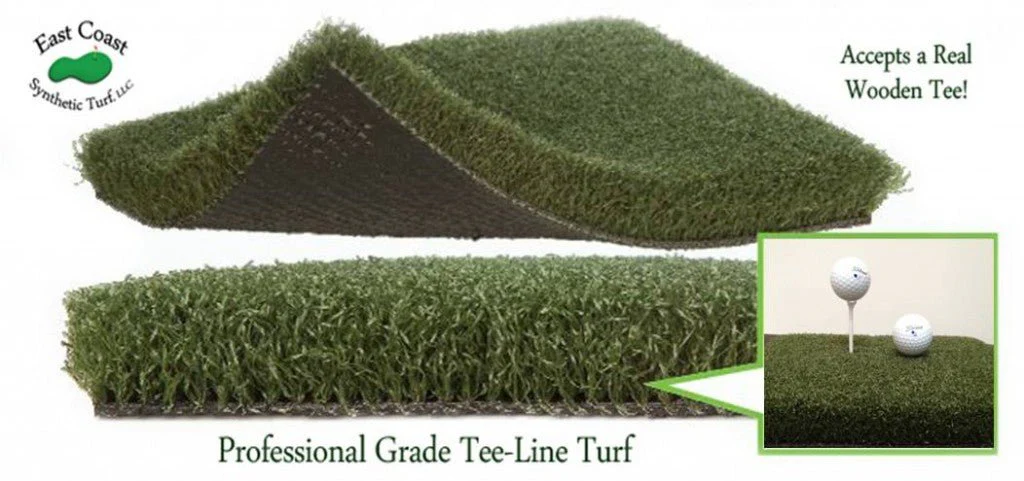
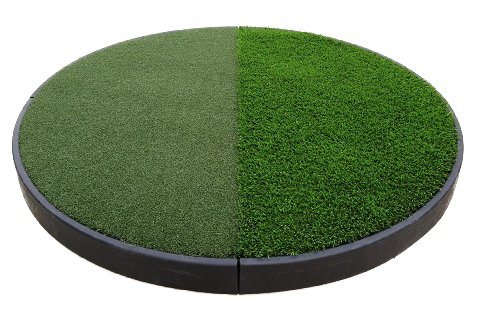
Do I need to use a golf hitting mat?
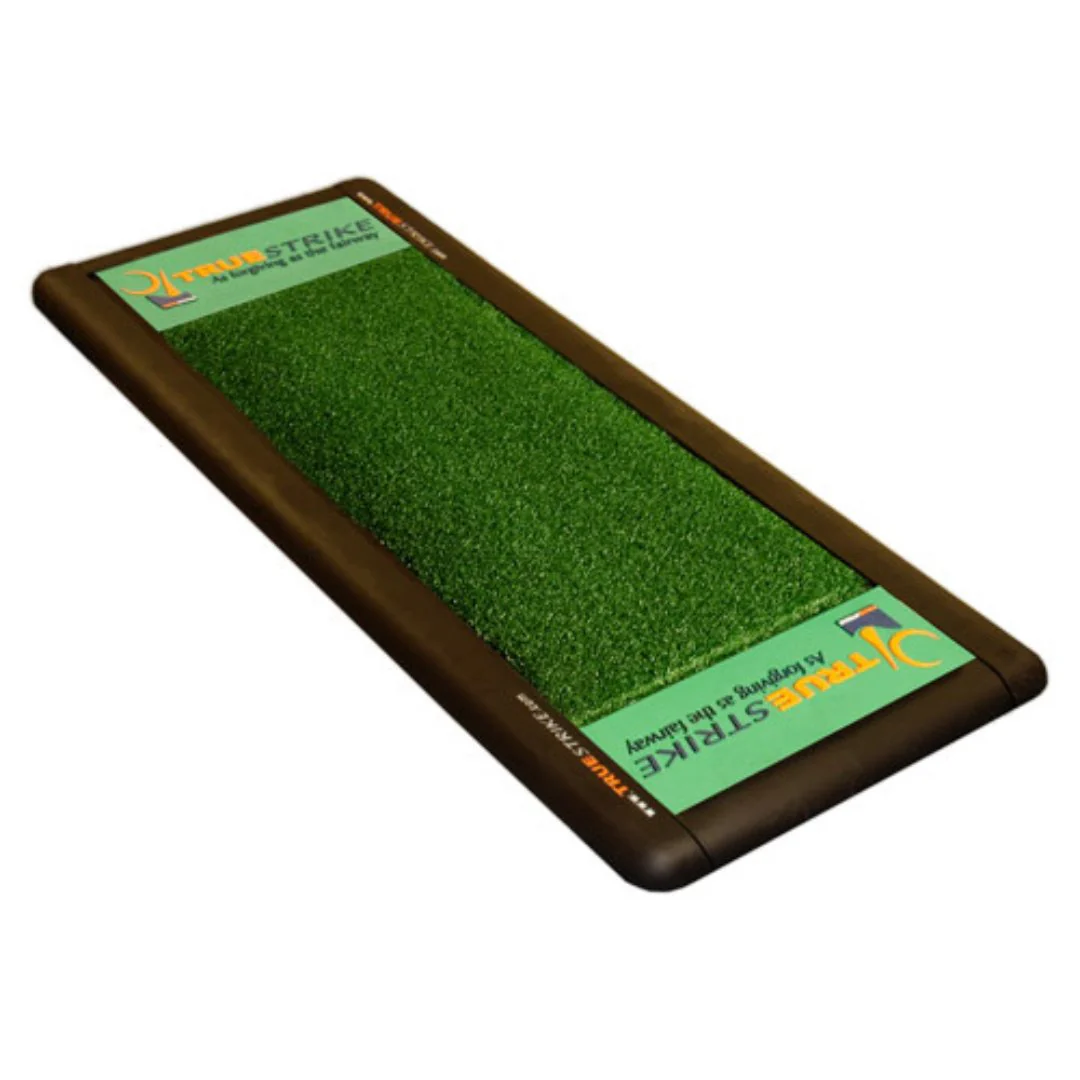
Golf hitting mats give you a nice cushy surface to stand and swing your golf club. They help protect your joints from any impact during your swing. They also let you have a more realistic golf practice when you can tee up the golf ball at the perfect height and swing freely.
When choosing a size for your golf mat consider the golfer's needs. A size of 4'x5' will let most golfers swing a driver with their heels comfortably on the edge of the mat. A larger size, 5'x7' or 4'x9', would be able to accommodate golfers with a wide stance or if you have friends over swinging either rightie or leftie.
Shop golf mats.
Golf Enclosure Information
What is the difference between the DIY and the Pro Golf Enclosure Kit?
Our DIY Golf Enclosure kit offers you an easy, entry-level way to build a safe place to swing your clubs. An affordable, convenient kit, the DIY Enclosure Kit helps home golfers take the guesswork out of designing their own golf simulator.
Our PRO Golf Enclosure kit is a higher-end enclosure for top-of-the-line performance in a golf simulator. Because it's available in wider, deeper bays with additional safety features it makes the best commercial golf simulator enclosure.
Not sure which one is for you? Check out this article 'DIY vs. Pro' to help you decide.
How big is the enclosure?
The Resources section lists actual frame dimensions to help determine which enclosure is the right fit for your space.
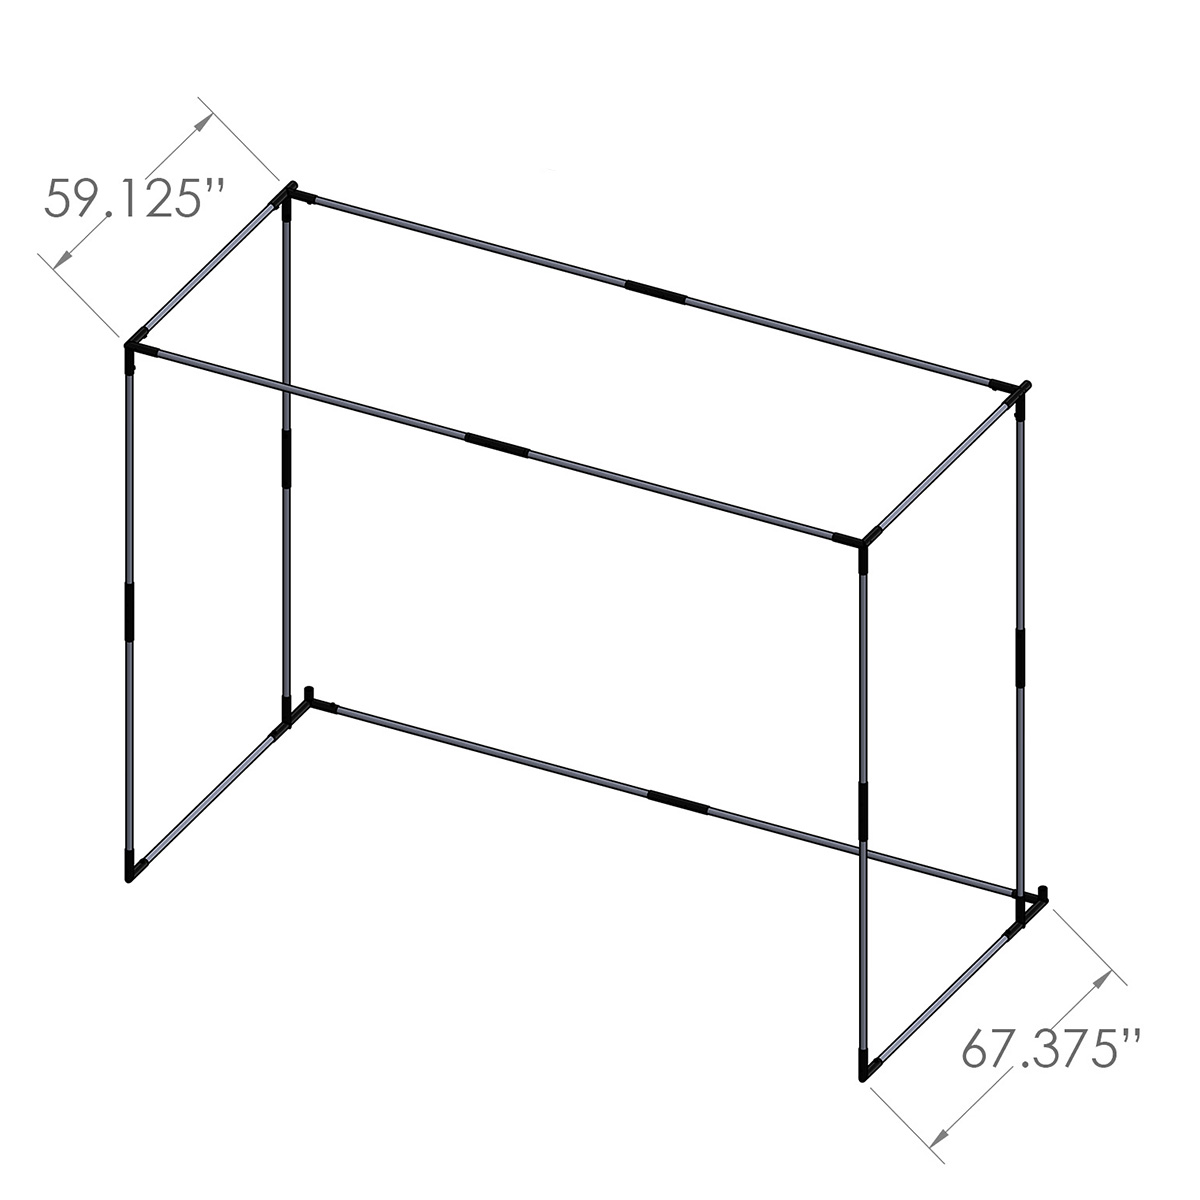
Note how the C-Series enclosures have a backset rear fitting. This creates a footprint 8.25" deeper than the listing size. Bonus! You needed that buffer space anyways so your hard-hit golf balls don't contact the wall. It's just built into the enclosure footprint.
How much space do I need for the enclosure?
When measuring for a golf simulator, make sure you take into account:
- Buffer space: You don't want your golf simulator right up next to any walls or ceiling. Balls that contact the walls or ceiling can cause damage and have unwanted bounce back.
- Footprint of the golf enclosure: Make sure to check the actual dimensions of the enclosure footprint. Our C-Series enclosures have built-in buffer space in the rear with the backset rear fitting.
- Safe golfing distance away from the screen: For the safety of both the golfer and the screen, we recommend standing a minimum distance of 10 to 12 feet away from the screen.
- Height of the golfer(s)
- Length of the golf club(s)
- Turf thickness, heating ducts, and soffits
- Furniture and access to doorways
When will my enclosure ship?
Our golf enclosure kits are made to order (which is why we can customize them down to the inch!). We make sure they are measured, sewn, and packed perfectly before they are ready to ship. Because of that, production lead time may fluctuate based on volume. To see the expected shipping and delivery times, please add the item to your cart and enter your shipping information.
What if the black enclosure material gets hit with a golf ball?
The enclosure material is not designed to take a direct hit from a golf ball. However, if you hit the white impact screen, and it bounces and hits the enclosure, you should not experience any issues.
Can I get a replacement screen for the enclosure?
We can easily make you a replacement screen to save you money. Replacement screens can be ordered by contacting one of our Customer Service Team Members. You can also call us at 412-567-4390. Learn more information about extending the life of your golf screen.
You can also check out our Clearance section to see if you can snag a deal on a replacement golf screen that fits your setup.
Technical Information
What aspect ratio and size golf projection screen do I need?
Aspect ratio simply refers to the shape of the image being projected. When the ratio of the projector, image, and screen match the image fills the entire screen and you will not see black masking bars.
An aspect ratio of 4:3 has the shape of a CRT TV, and a 16:9 has the shape of a flat screen TV. The 4:3 is very common for golf simulators because it allows you to go taller, giving you more room to swing, without needing a wider room. If space allows the 16:9 is great for 4K and HD images, but be aware if you are tall or have limited room depth that this option may be too short for you to swing a golf club. The 16:10 is an aspect ratio mostly used for computer displays and tablet computers. These days it’s somewhat uncommon for projection, but with some effort it should be possible to find a projector capable of this ratio.
For some customers, the projected image is secondary while the safety of the surrounding area is the priority. Selecting a size where the aspect ratio is non-standard, so that it fits your space, is also an option. Just be aware the image will not fill the entire screen if you are using it for projection and the black masking bars will be visible.
The 1:1 is a square and is not a standard aspect ratio for projectors, but may work if space is limited, although it increases the chances of seeing black bars and you will likely have to adjust the settings on your computer. Adjusting the settings on your computer may be difficult for most customers unless you are very technically savvy.
Custom Options
Can you make a custom size golf simulator enclosure?
Yes! Head over to Build Your Own Golf Simulator where you can choose the size of enclosure and screen that fits your space. Please make sure to review our Returns Policy for custom products.
Product Information
Product Information
Shipping & Returns
Shipping & Returns
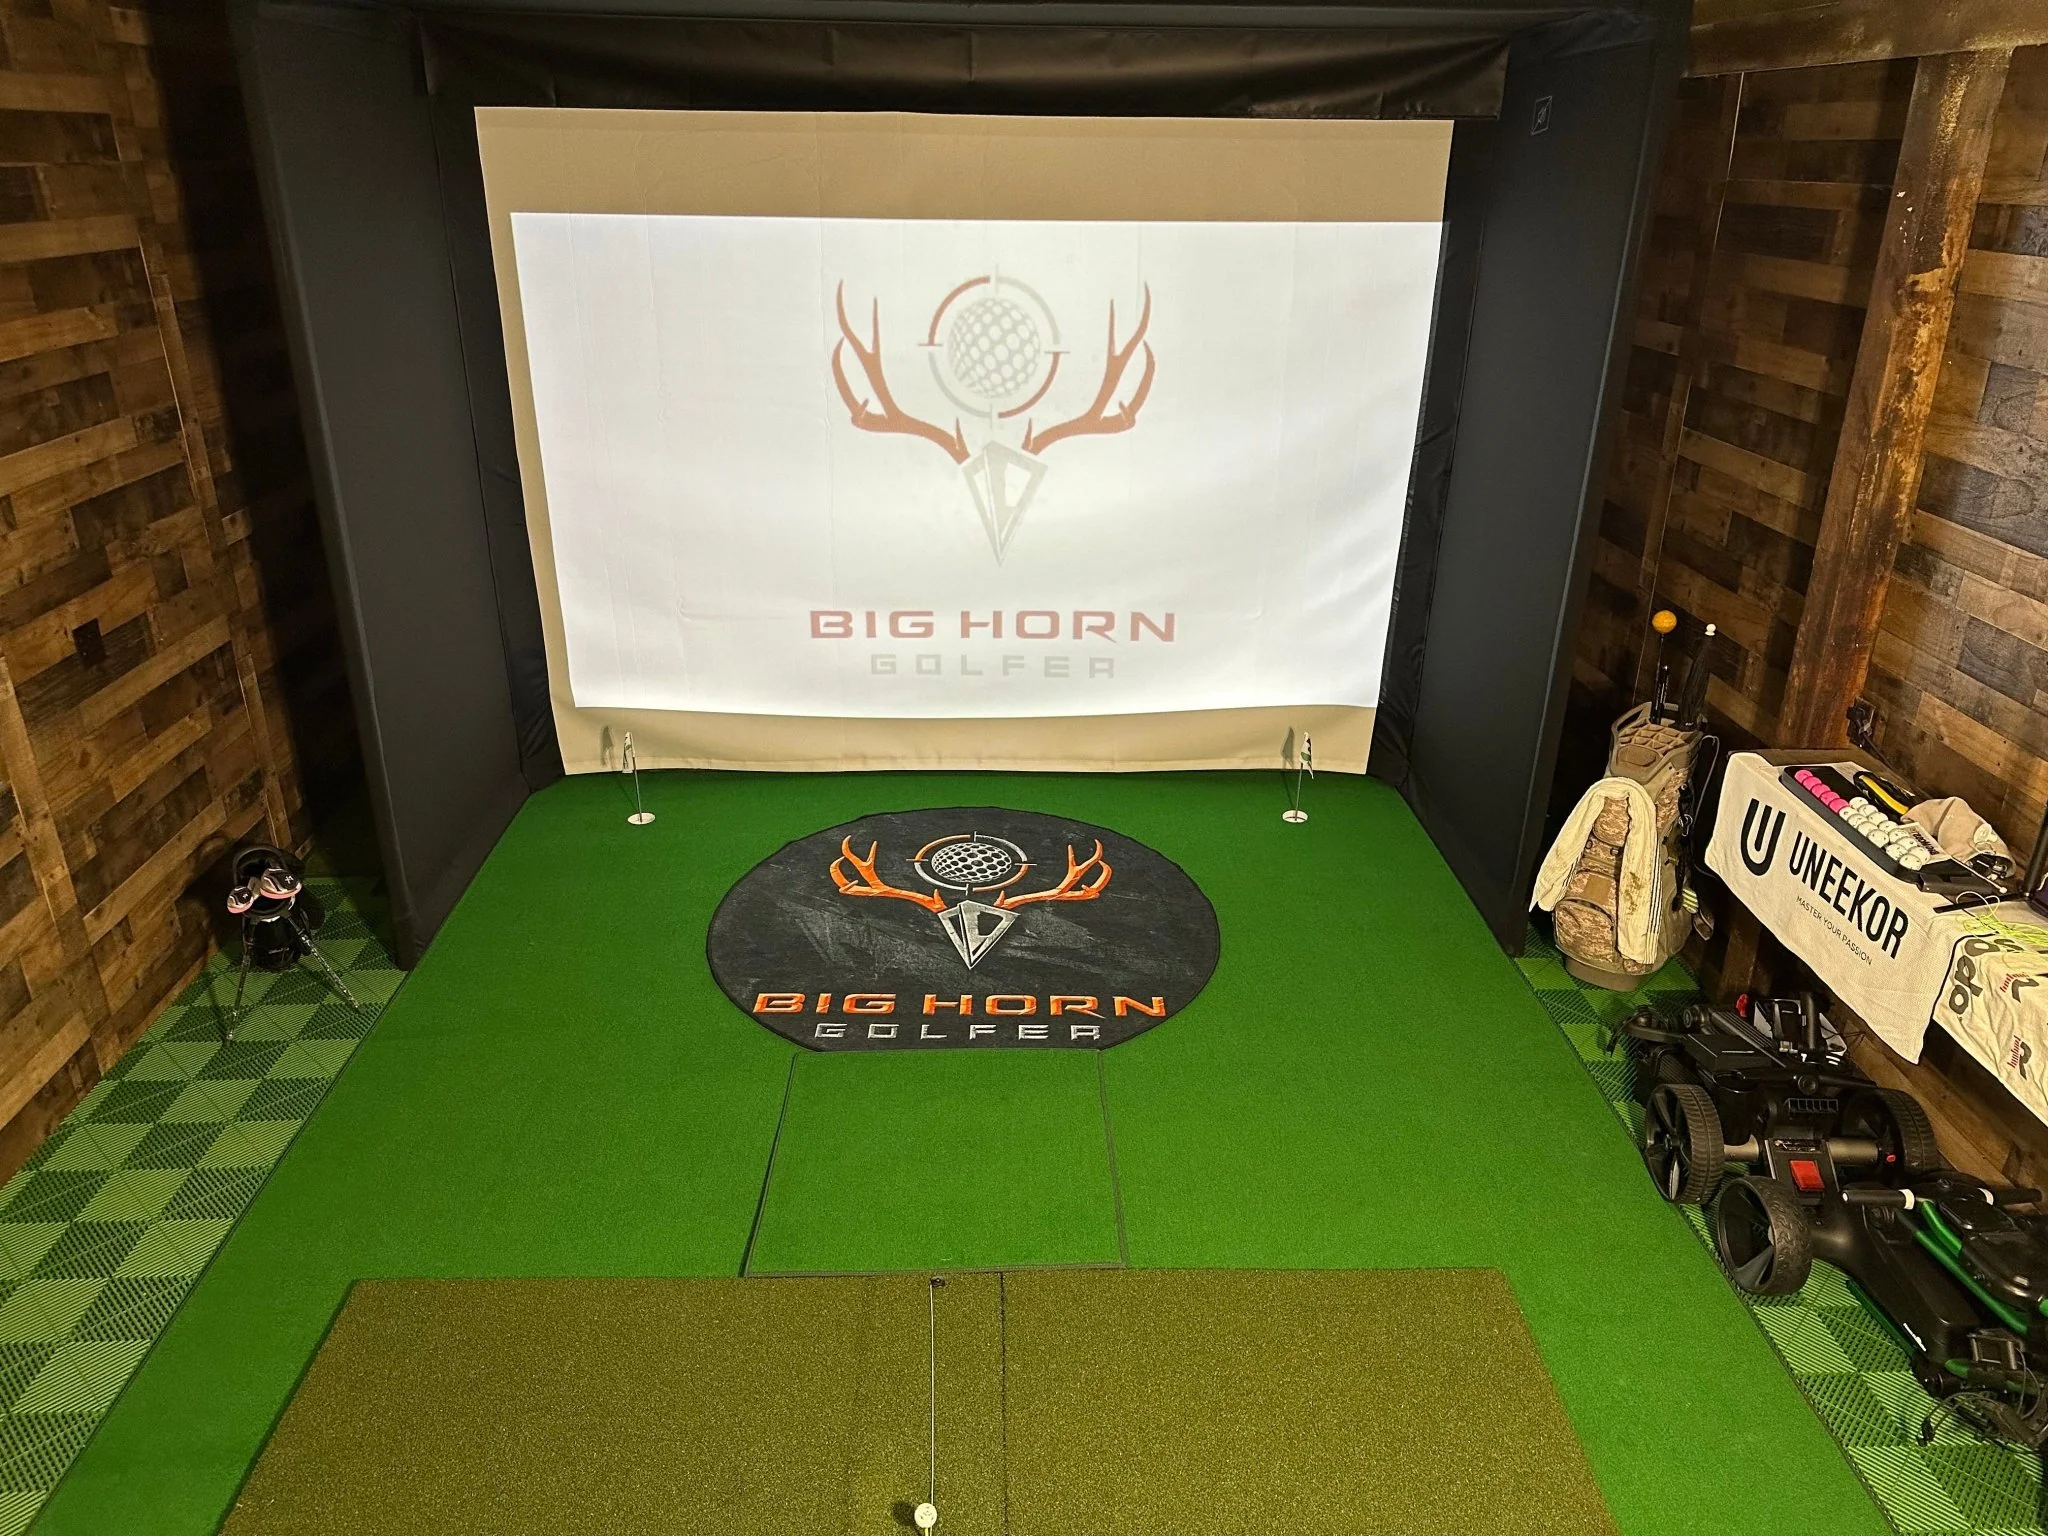
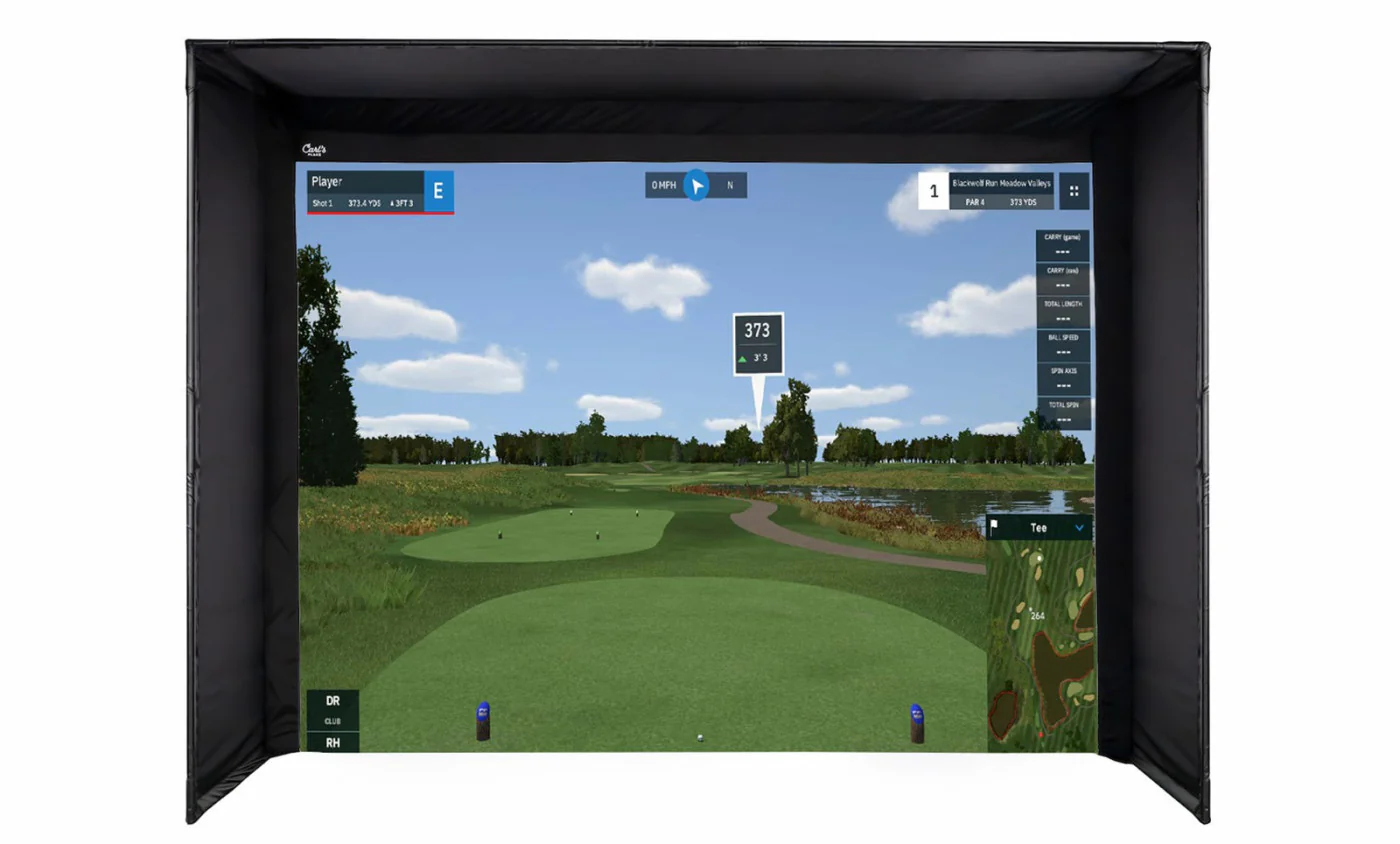
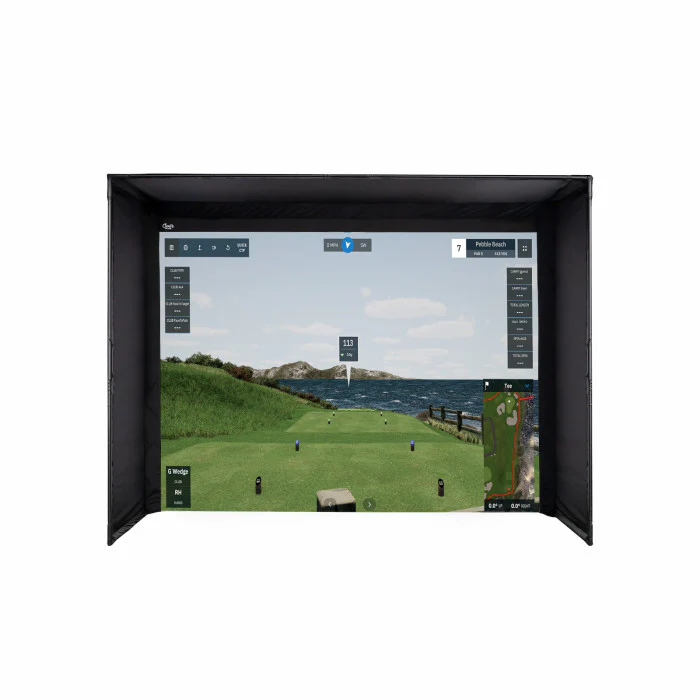
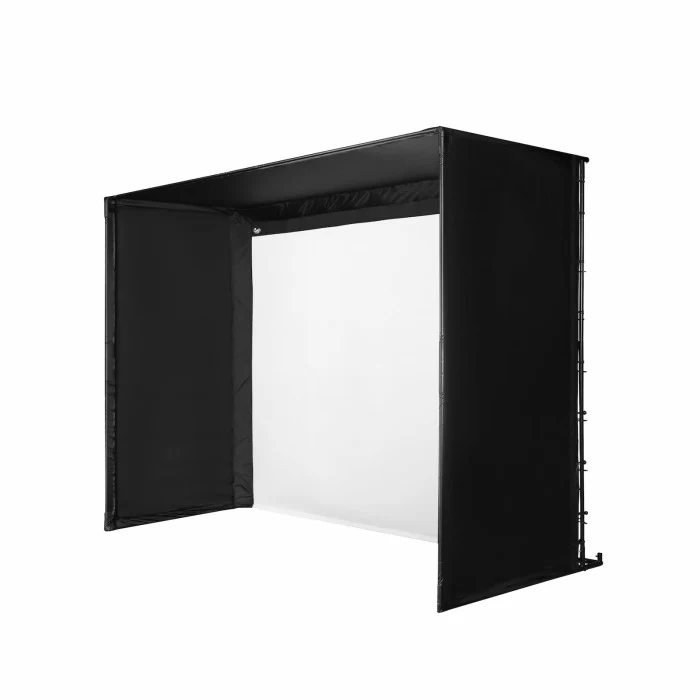
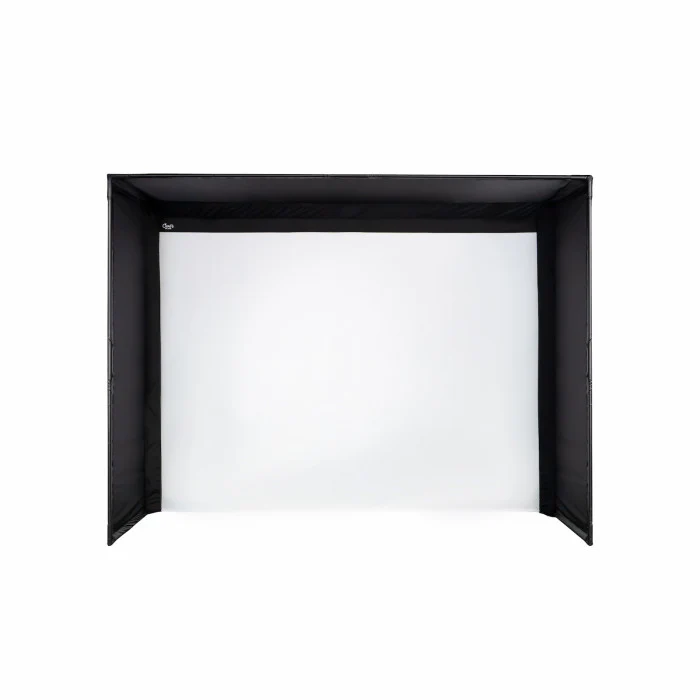
Carl's Place DIY Golf Simulator Enclosure Kit with Standard Impact Screen
Carl's Place DIY Golf Simulator Enclosure Kit with Standard Impact Screen
Carl's Place DIY Golf Simulator Enclosure Kit with Standard Impact Screen
Get a seamless floor-to-turf image while golfing at home!
Carl's Place DIY Golf Simulator Enclosure Kits are designed to deliver a professional golf experience in the comfort of your own home. Each kit includes a durable nylon enclosure, premium impact screen that extends to the floor for a seamless view, and all the necessary fittings to assemble your frame. For added convenience, you can use our detailed pipe list or opt for the Pipe Framing Kit, giving you a complete, hassle-free setup.
Now offered with the High-Contrast Gray Premium Golf Screen, these enclosures provide sharper image clarity and enhanced contrast, even in spaces with ambient light, ensuring a more immersive and lifelike simulator experience.
Expected lead time is 10 business days for the enclosures to be built.
Details
Picture yourself entering a spare room within your home, where the opportunity to refine your golf swing is available year-round. The Carl's Place DIY Golf Simulator Kit revolutionizes indoor golfing, making it more accessible than ever. Discover our premium launch monitors and projectors meticulously crafted to elevate your self-made golf enclosure. Immerse yourself in an unparalleled, genuinely lifelike virtual golfing adventure from the convenience of your personal space. This remarkable arrangement also holds immense potential for ambitious indoor golf enterprises.
The estimated shipping time is 1-2 weeks.
DIY Golf Simulator Enclosure Includes
Your Choice of Impact Screen
Our golf simulator impact screen material comes in four versions: Standard, Preferred, Premium, and now High-Contrast Gray Premium. Each is engineered to create a bottomless edge that creates a picture-perfect floor-to-turf image with minimal bounceback.
How do I know?
Screen Material Help
Standard golf impact screen (far left)
• Budget material perfect for beginners
• 100% heavy-duty polyester
• Loosely woven
Preferred golf impact screen (center left)
• Smoother surface for better image quality
• 100% heavy-duty polyester
• Strong silicone reinforcement
• Tightly woven knit
Premium golf impact screen (center right)
• Smoothest surface available
• Superior image quality
• 3 layers of heavy-duty, impact-resistant polyester
• Noise-dampening center layer
High-Contrast Gray Premium golf impact screen (far right)
• Same top-of-the-line material as our Premium screen
• Allows for deeper blacks and richer colors
• Great for areas with more ambient light
BlackStop™ Enclosure
The BlackStop™ enclosure surrounds your simulator with a tough surface to shade the screen for your brightest image. It also creates a hitting bay golf environment that catches any shots that miss or bounce off the screen. Because you don't want to put a bunch of golf ball-sized holes in your wall.
Steel Fittings
Zip Ties
We include all the fasteners you need to secure your enclosure and screen. You'll get zip ties to secure your screen to the frame. We even give you extra so you find the perfect balance of tension for your specific swing style. Depending on how close you're hitting to the screen, ball speed, clubs used, and spin rates, you can adjust them all to find your sweet spot between tension and slack.
How To Choose Your Enclosure Size
DIY Enclosure Kit Actual Dimensions
Our standard DIY Enclosures list their actual outer dimensions on this DIY Enclosure Specifications chart. Check the actual dimensions of the enclosure to know how big of a golf simulator your space can fit.
Make sure to leave room for buffer space. 12" at the rear is recommended. A minimum of 8.25" is required to fit the rear fittings.
DIY Golf Enclosure Set Up
See the install of a Carl's Place DIY C-Series Enclosure.
EMT Requirements
Unless you've selected the Pipe Framing Kit add-on, you'll need to purchase 1-inch EMT (electrical metal tubing) from your local hardware store to complete your frame. We'll include all details on what lengths and quantities of EMT are required.
Please note, 1-inch EMT is the US trade name of the material, however, the true outer diameter is 1.163" or 27mm.
Resources
Documents
Carls Place DIY C-Series Enclosure Kit Assembly Instructions & User Manual.pdf
DIY Golf Simulator Enclosure Kit Specifications.pdf
7.7x10x5 DIY Enclosure Diagram.png
7.7x13x5 DIY Enclosure Diagram.png
8.5x11.5x5 DIY Enclosure Diagram.png
8x10.5x5 DIY Enclosure Diagram.png
8x8x5 DIY Enclosure Diagram.png
9x12x5 DIY Enclosure Diagram.png
FAQ
Installation
How do the ball bungees work?
Along with reusable zip ties, ball bungees are used to secure screens and enclosures to the frame.
- Insert the loop end of the bungee into a grommet from behind the screen.
- Thread it through the grommet until the toggle ball touches the backside of the grommet.
- Pull the cord over and around the frame/pipe.
- Hook the cord over the toggle ball to create a loop.
What pipes do I need to construct the enclosure kit frame?
Our DIY Golf Simulator Enclosures require 1-inch EMT (Electrical Metal Tubing/Conduit). We recommend you add a Pipe Framing Kit to your order so you get pre-cut, perfectly sized pipes for your enclosure frame. However, you can source EMT pipes on your own. Your kit will include all details on what lengths and quantities of pipes are required.
How long does it take to assemble the enclosure?
DIY Golf Simulator Enclosure Kits assemble in about an hour, depending on the size. Of course, it goes a bit faster if you have a helper. Here's our assembly video and manual for reference.
What are EMT pipes?
EMT stands for Electrical Metal Tubing, also known as, Electrical Metal Conduit. We often just refer to them as pipes on our website. You need EMT (pipes) to build the frame for your enclosure/screen. Do not mistake PVC pipes for EMT. PVC will not work with our fittings. You have 2 options on how to get the necessary pipes:
- Add a Pipe Framing Kit. (You'll see these as accessories on our DIY and Pro Golf Enclosure Kits.
-
Source EMT pipes at your local building supply store.
- DIY Enclosures require 1″ EMT.
- Pro Enclosures require 2" EMT which can be more difficult to find. Make sure you have a source for your EMT when selecting whether you want to add on our Pipe Framing Kit options.
Where and how should I mount my projector?
The projector specifications determine the maximum image size and how far from the screen it will need to be mounted. Check out our screen size calculator to find the best mounting location.
As for how to mount your projector, here are the places to put a golf simulator projector.
- Mount a projector above your tee or mat.
- Flush-mount to your ceiling in spaces with lower ceilings
- Drop-mount from your ceiling in spaces with higher ceilings
- Frame-mount from your Carl's Place Pro Enclosure
- Place a short-throw projector on the floor inside the golf simulator. Of course, if you floor-mount your projector you must build or buy a protective cover to keep it safe from golf balls and clubs.
Read more here about projector mounting options.
Care and Use Information
How far away should I stand from my impact screen?
For the safety of both the golfer and the screen, we recommend standing a minimum of 10-12 feet away from the screen.
Can I iron or steam a golf impact screen?
We do NOT recommend ironing your golf screen, simply because it is very easy to damage the screen. And we want your golf screen to last you a long, long time. With wrinkles and fold marks, the best thing is prevention. Unpack your new screen immediately, and if you need to store it, fold it very loosely. But if you're reading a section on ironing your golf screen, it's probably too late for prevention. Know that mounting your golf screen to a frame with tension, like with our ball bungees, and letting it relax for a couple of days will smooth out most wrinkles.
That being said...
We have heard of customers being successful in removing wrinkles and fold marks from their screens using a clothes iron. If you want to try this, do so only on the backside of the material and on a VERY LOW setting. If it doesn't go well, you might want to check our Clearance section for a new screen.
Can I wash my golf screen material?
Check out this article for all our recommendations on 'How to Clean Your Golf Impact Screen'.
Are there safety concerns when using a golf simulator?
We want your indoor golf set up to be fun, help improve your game, and be safe for everyone.
- Make sure to follow the assembly manual provided with your enclosure.
- Keep children, pets, and spectators out of swing range.
- Protect ceilings, walls, windows, cars & neighboring homes.
- Understand the Terms of Sale of using a Carl's Place product.
Do I need to use a golf hitting mat?
Golf hitting mats give you a nice cushy surface to stand and swing your golf club. They help protect your joints from any impact during your swing. They also let you have a more realistic golf practice when you can tee up the golf ball at the perfect height and swing freely.
When choosing a size for your golf mat consider the golfer's needs. A size of 4'x5' will let most golfers swing a driver with their heels comfortably on the edge of the mat. A larger size, 5'x7' or 4'x9', would be able to accommodate golfers with a wide stance or if you have friends over swinging either rightie or leftie.
Shop golf mats.
Golf Enclosure Information
What is the difference between the DIY and the Pro Golf Enclosure Kit?
Our DIY Golf Enclosure kit offers you an easy, entry-level way to build a safe place to swing your clubs. An affordable, convenient kit, the DIY Enclosure Kit helps home golfers take the guesswork out of designing their own golf simulator.
Our PRO Golf Enclosure kit is a higher-end enclosure for top-of-the-line performance in a golf simulator. Because it's available in wider, deeper bays with additional safety features it makes the best commercial golf simulator enclosure.
Not sure which one is for you? Check out this article 'DIY vs. Pro' to help you decide.
How big is the enclosure?
The Resources section lists actual frame dimensions to help determine which enclosure is the right fit for your space.
Note how the C-Series enclosures have a backset rear fitting. This creates a footprint 8.25" deeper than the listing size. Bonus! You needed that buffer space anyways so your hard-hit golf balls don't contact the wall. It's just built into the enclosure footprint.
How much space do I need for the enclosure?
When measuring for a golf simulator, make sure you take into account:
- Buffer space: You don't want your golf simulator right up next to any walls or ceiling. Balls that contact the walls or ceiling can cause damage and have unwanted bounce back.
- Footprint of the golf enclosure: Make sure to check the actual dimensions of the enclosure footprint. Our C-Series enclosures have built-in buffer space in the rear with the backset rear fitting.
- Safe golfing distance away from the screen: For the safety of both the golfer and the screen, we recommend standing a minimum distance of 10 to 12 feet away from the screen.
- Height of the golfer(s)
- Length of the golf club(s)
- Turf thickness, heating ducts, and soffits
- Furniture and access to doorways
When will my enclosure ship?
Our golf enclosure kits are made to order (which is why we can customize them down to the inch!). We make sure they are measured, sewn, and packed perfectly before they are ready to ship. Because of that, production lead time may fluctuate based on volume. To see the expected shipping and delivery times, please add the item to your cart and enter your shipping information.
What if the black enclosure material gets hit with a golf ball?
The enclosure material is not designed to take a direct hit from a golf ball. However, if you hit the white impact screen, and it bounces and hits the enclosure, you should not experience any issues.
Can I get a replacement screen for the enclosure?
We can easily make you a replacement screen to save you money. Replacement screens can be ordered by contacting one of our Customer Service Team Members. You can also call us at 412-567-4390. Learn more information about extending the life of your golf screen.
You can also check out our Clearance section to see if you can snag a deal on a replacement golf screen that fits your setup.
Technical Information
What aspect ratio and size golf projection screen do I need?
Aspect ratio simply refers to the shape of the image being projected. When the ratio of the projector, image, and screen match the image fills the entire screen and you will not see black masking bars.
An aspect ratio of 4:3 has the shape of a CRT TV, and a 16:9 has the shape of a flat screen TV. The 4:3 is very common for golf simulators because it allows you to go taller, giving you more room to swing, without needing a wider room. If space allows the 16:9 is great for 4K and HD images, but be aware if you are tall or have limited room depth that this option may be too short for you to swing a golf club. The 16:10 is an aspect ratio mostly used for computer displays and tablet computers. These days it’s somewhat uncommon for projection, but with some effort it should be possible to find a projector capable of this ratio.
For some customers, the projected image is secondary while the safety of the surrounding area is the priority. Selecting a size where the aspect ratio is non-standard, so that it fits your space, is also an option. Just be aware the image will not fill the entire screen if you are using it for projection and the black masking bars will be visible.
The 1:1 is a square and is not a standard aspect ratio for projectors, but may work if space is limited, although it increases the chances of seeing black bars and you will likely have to adjust the settings on your computer. Adjusting the settings on your computer may be difficult for most customers unless you are very technically savvy.
Custom Options
Can you make a custom size golf simulator enclosure?
Yes! Head over to Build Your Own Golf Simulator where you can choose the size of enclosure and screen that fits your space. Please make sure to review our Returns Policy for custom products.
Original: $999.95
-65%$999.95
$349.98Product Information
Product Information
Shipping & Returns
Shipping & Returns
Description
Carl's Place DIY Golf Simulator Enclosure Kit with Standard Impact Screen
Get a seamless floor-to-turf image while golfing at home!
Carl's Place DIY Golf Simulator Enclosure Kits are designed to deliver a professional golf experience in the comfort of your own home. Each kit includes a durable nylon enclosure, premium impact screen that extends to the floor for a seamless view, and all the necessary fittings to assemble your frame. For added convenience, you can use our detailed pipe list or opt for the Pipe Framing Kit, giving you a complete, hassle-free setup.
Now offered with the High-Contrast Gray Premium Golf Screen, these enclosures provide sharper image clarity and enhanced contrast, even in spaces with ambient light, ensuring a more immersive and lifelike simulator experience.
Expected lead time is 10 business days for the enclosures to be built.
Details
Picture yourself entering a spare room within your home, where the opportunity to refine your golf swing is available year-round. The Carl's Place DIY Golf Simulator Kit revolutionizes indoor golfing, making it more accessible than ever. Discover our premium launch monitors and projectors meticulously crafted to elevate your self-made golf enclosure. Immerse yourself in an unparalleled, genuinely lifelike virtual golfing adventure from the convenience of your personal space. This remarkable arrangement also holds immense potential for ambitious indoor golf enterprises.
The estimated shipping time is 1-2 weeks.
DIY Golf Simulator Enclosure Includes
Your Choice of Impact Screen
Our golf simulator impact screen material comes in four versions: Standard, Preferred, Premium, and now High-Contrast Gray Premium. Each is engineered to create a bottomless edge that creates a picture-perfect floor-to-turf image with minimal bounceback.
How do I know?
Screen Material Help
Standard golf impact screen (far left)
• Budget material perfect for beginners
• 100% heavy-duty polyester
• Loosely woven
Preferred golf impact screen (center left)
• Smoother surface for better image quality
• 100% heavy-duty polyester
• Strong silicone reinforcement
• Tightly woven knit
Premium golf impact screen (center right)
• Smoothest surface available
• Superior image quality
• 3 layers of heavy-duty, impact-resistant polyester
• Noise-dampening center layer
High-Contrast Gray Premium golf impact screen (far right)
• Same top-of-the-line material as our Premium screen
• Allows for deeper blacks and richer colors
• Great for areas with more ambient light
BlackStop™ Enclosure
The BlackStop™ enclosure surrounds your simulator with a tough surface to shade the screen for your brightest image. It also creates a hitting bay golf environment that catches any shots that miss or bounce off the screen. Because you don't want to put a bunch of golf ball-sized holes in your wall.
Steel Fittings
Zip Ties
We include all the fasteners you need to secure your enclosure and screen. You'll get zip ties to secure your screen to the frame. We even give you extra so you find the perfect balance of tension for your specific swing style. Depending on how close you're hitting to the screen, ball speed, clubs used, and spin rates, you can adjust them all to find your sweet spot between tension and slack.
How To Choose Your Enclosure Size
DIY Enclosure Kit Actual Dimensions
Our standard DIY Enclosures list their actual outer dimensions on this DIY Enclosure Specifications chart. Check the actual dimensions of the enclosure to know how big of a golf simulator your space can fit.
Make sure to leave room for buffer space. 12" at the rear is recommended. A minimum of 8.25" is required to fit the rear fittings.
DIY Golf Enclosure Set Up
See the install of a Carl's Place DIY C-Series Enclosure.
EMT Requirements
Unless you've selected the Pipe Framing Kit add-on, you'll need to purchase 1-inch EMT (electrical metal tubing) from your local hardware store to complete your frame. We'll include all details on what lengths and quantities of EMT are required.
Please note, 1-inch EMT is the US trade name of the material, however, the true outer diameter is 1.163" or 27mm.
Resources
Documents
Carls Place DIY C-Series Enclosure Kit Assembly Instructions & User Manual.pdf
DIY Golf Simulator Enclosure Kit Specifications.pdf
7.7x10x5 DIY Enclosure Diagram.png
7.7x13x5 DIY Enclosure Diagram.png
8.5x11.5x5 DIY Enclosure Diagram.png
8x10.5x5 DIY Enclosure Diagram.png
8x8x5 DIY Enclosure Diagram.png
9x12x5 DIY Enclosure Diagram.png
FAQ
Installation
How do the ball bungees work?
Along with reusable zip ties, ball bungees are used to secure screens and enclosures to the frame.
- Insert the loop end of the bungee into a grommet from behind the screen.
- Thread it through the grommet until the toggle ball touches the backside of the grommet.
- Pull the cord over and around the frame/pipe.
- Hook the cord over the toggle ball to create a loop.
What pipes do I need to construct the enclosure kit frame?
Our DIY Golf Simulator Enclosures require 1-inch EMT (Electrical Metal Tubing/Conduit). We recommend you add a Pipe Framing Kit to your order so you get pre-cut, perfectly sized pipes for your enclosure frame. However, you can source EMT pipes on your own. Your kit will include all details on what lengths and quantities of pipes are required.
How long does it take to assemble the enclosure?
DIY Golf Simulator Enclosure Kits assemble in about an hour, depending on the size. Of course, it goes a bit faster if you have a helper. Here's our assembly video and manual for reference.
What are EMT pipes?
EMT stands for Electrical Metal Tubing, also known as, Electrical Metal Conduit. We often just refer to them as pipes on our website. You need EMT (pipes) to build the frame for your enclosure/screen. Do not mistake PVC pipes for EMT. PVC will not work with our fittings. You have 2 options on how to get the necessary pipes:
- Add a Pipe Framing Kit. (You'll see these as accessories on our DIY and Pro Golf Enclosure Kits.
-
Source EMT pipes at your local building supply store.
- DIY Enclosures require 1″ EMT.
- Pro Enclosures require 2" EMT which can be more difficult to find. Make sure you have a source for your EMT when selecting whether you want to add on our Pipe Framing Kit options.
Where and how should I mount my projector?
The projector specifications determine the maximum image size and how far from the screen it will need to be mounted. Check out our screen size calculator to find the best mounting location.
As for how to mount your projector, here are the places to put a golf simulator projector.
- Mount a projector above your tee or mat.
- Flush-mount to your ceiling in spaces with lower ceilings
- Drop-mount from your ceiling in spaces with higher ceilings
- Frame-mount from your Carl's Place Pro Enclosure
- Place a short-throw projector on the floor inside the golf simulator. Of course, if you floor-mount your projector you must build or buy a protective cover to keep it safe from golf balls and clubs.
Read more here about projector mounting options.
Care and Use Information
How far away should I stand from my impact screen?
For the safety of both the golfer and the screen, we recommend standing a minimum of 10-12 feet away from the screen.
Can I iron or steam a golf impact screen?
We do NOT recommend ironing your golf screen, simply because it is very easy to damage the screen. And we want your golf screen to last you a long, long time. With wrinkles and fold marks, the best thing is prevention. Unpack your new screen immediately, and if you need to store it, fold it very loosely. But if you're reading a section on ironing your golf screen, it's probably too late for prevention. Know that mounting your golf screen to a frame with tension, like with our ball bungees, and letting it relax for a couple of days will smooth out most wrinkles.
That being said...
We have heard of customers being successful in removing wrinkles and fold marks from their screens using a clothes iron. If you want to try this, do so only on the backside of the material and on a VERY LOW setting. If it doesn't go well, you might want to check our Clearance section for a new screen.
Can I wash my golf screen material?
Check out this article for all our recommendations on 'How to Clean Your Golf Impact Screen'.
Are there safety concerns when using a golf simulator?
We want your indoor golf set up to be fun, help improve your game, and be safe for everyone.
- Make sure to follow the assembly manual provided with your enclosure.
- Keep children, pets, and spectators out of swing range.
- Protect ceilings, walls, windows, cars & neighboring homes.
- Understand the Terms of Sale of using a Carl's Place product.
Do I need to use a golf hitting mat?
Golf hitting mats give you a nice cushy surface to stand and swing your golf club. They help protect your joints from any impact during your swing. They also let you have a more realistic golf practice when you can tee up the golf ball at the perfect height and swing freely.
When choosing a size for your golf mat consider the golfer's needs. A size of 4'x5' will let most golfers swing a driver with their heels comfortably on the edge of the mat. A larger size, 5'x7' or 4'x9', would be able to accommodate golfers with a wide stance or if you have friends over swinging either rightie or leftie.
Shop golf mats.
Golf Enclosure Information
What is the difference between the DIY and the Pro Golf Enclosure Kit?
Our DIY Golf Enclosure kit offers you an easy, entry-level way to build a safe place to swing your clubs. An affordable, convenient kit, the DIY Enclosure Kit helps home golfers take the guesswork out of designing their own golf simulator.
Our PRO Golf Enclosure kit is a higher-end enclosure for top-of-the-line performance in a golf simulator. Because it's available in wider, deeper bays with additional safety features it makes the best commercial golf simulator enclosure.
Not sure which one is for you? Check out this article 'DIY vs. Pro' to help you decide.
How big is the enclosure?
The Resources section lists actual frame dimensions to help determine which enclosure is the right fit for your space.
Note how the C-Series enclosures have a backset rear fitting. This creates a footprint 8.25" deeper than the listing size. Bonus! You needed that buffer space anyways so your hard-hit golf balls don't contact the wall. It's just built into the enclosure footprint.
How much space do I need for the enclosure?
When measuring for a golf simulator, make sure you take into account:
- Buffer space: You don't want your golf simulator right up next to any walls or ceiling. Balls that contact the walls or ceiling can cause damage and have unwanted bounce back.
- Footprint of the golf enclosure: Make sure to check the actual dimensions of the enclosure footprint. Our C-Series enclosures have built-in buffer space in the rear with the backset rear fitting.
- Safe golfing distance away from the screen: For the safety of both the golfer and the screen, we recommend standing a minimum distance of 10 to 12 feet away from the screen.
- Height of the golfer(s)
- Length of the golf club(s)
- Turf thickness, heating ducts, and soffits
- Furniture and access to doorways
When will my enclosure ship?
Our golf enclosure kits are made to order (which is why we can customize them down to the inch!). We make sure they are measured, sewn, and packed perfectly before they are ready to ship. Because of that, production lead time may fluctuate based on volume. To see the expected shipping and delivery times, please add the item to your cart and enter your shipping information.
What if the black enclosure material gets hit with a golf ball?
The enclosure material is not designed to take a direct hit from a golf ball. However, if you hit the white impact screen, and it bounces and hits the enclosure, you should not experience any issues.
Can I get a replacement screen for the enclosure?
We can easily make you a replacement screen to save you money. Replacement screens can be ordered by contacting one of our Customer Service Team Members. You can also call us at 412-567-4390. Learn more information about extending the life of your golf screen.
You can also check out our Clearance section to see if you can snag a deal on a replacement golf screen that fits your setup.
Technical Information
What aspect ratio and size golf projection screen do I need?
Aspect ratio simply refers to the shape of the image being projected. When the ratio of the projector, image, and screen match the image fills the entire screen and you will not see black masking bars.
An aspect ratio of 4:3 has the shape of a CRT TV, and a 16:9 has the shape of a flat screen TV. The 4:3 is very common for golf simulators because it allows you to go taller, giving you more room to swing, without needing a wider room. If space allows the 16:9 is great for 4K and HD images, but be aware if you are tall or have limited room depth that this option may be too short for you to swing a golf club. The 16:10 is an aspect ratio mostly used for computer displays and tablet computers. These days it’s somewhat uncommon for projection, but with some effort it should be possible to find a projector capable of this ratio.
For some customers, the projected image is secondary while the safety of the surrounding area is the priority. Selecting a size where the aspect ratio is non-standard, so that it fits your space, is also an option. Just be aware the image will not fill the entire screen if you are using it for projection and the black masking bars will be visible.
The 1:1 is a square and is not a standard aspect ratio for projectors, but may work if space is limited, although it increases the chances of seeing black bars and you will likely have to adjust the settings on your computer. Adjusting the settings on your computer may be difficult for most customers unless you are very technically savvy.
Custom Options
Can you make a custom size golf simulator enclosure?
Yes! Head over to Build Your Own Golf Simulator where you can choose the size of enclosure and screen that fits your space. Please make sure to review our Returns Policy for custom products.